Render your first frame
Go from a saved Blender scene to a verified Superluminal render and downloaded output.
Updated 2026-08-04
One representative test frame verifies packaging, render-time add-ons, output settings, and the Blender version before you pay for a full animation.
Before you begin
You need:
- a Superluminal account and organization
- a positive render-credit balance
- a supported Blender version and the current Superluminal add-on
- a saved
.blendfile that renders locally
Save first
The add-on cannot submit an unsaved file. Save to a stable project folder first.
First-render checklist
Install the current add-on
Download the release ZIP from superlumin.al/blender-addon, then use Blender's Install from Disk flow. Keep the archive zipped.
Connect your account
Open Render Properties → Superluminal Render, choose Connect to Superluminal, and complete the browser flow.
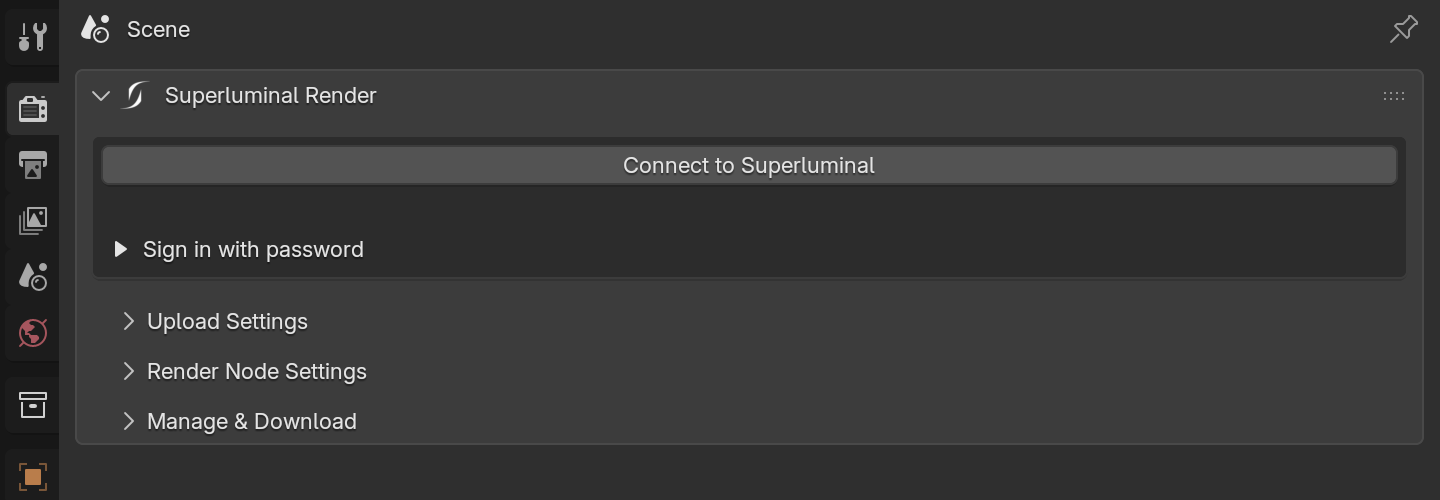
*Before sign-in. Password entry stays collapsed as a fallback.*
Create or select a project
Use the project picker in Blender. If no project exists, choose Create Project, finish in the web app, and refresh the picker.
Fund the organization
Open Billing, choose Render Farm, and add credits. The balance belongs to the selected organization.
Submit a still
Keep ZIP for a self-contained first test. Choose the image format and Blender version, click Submit Still, and pick a useful frame.
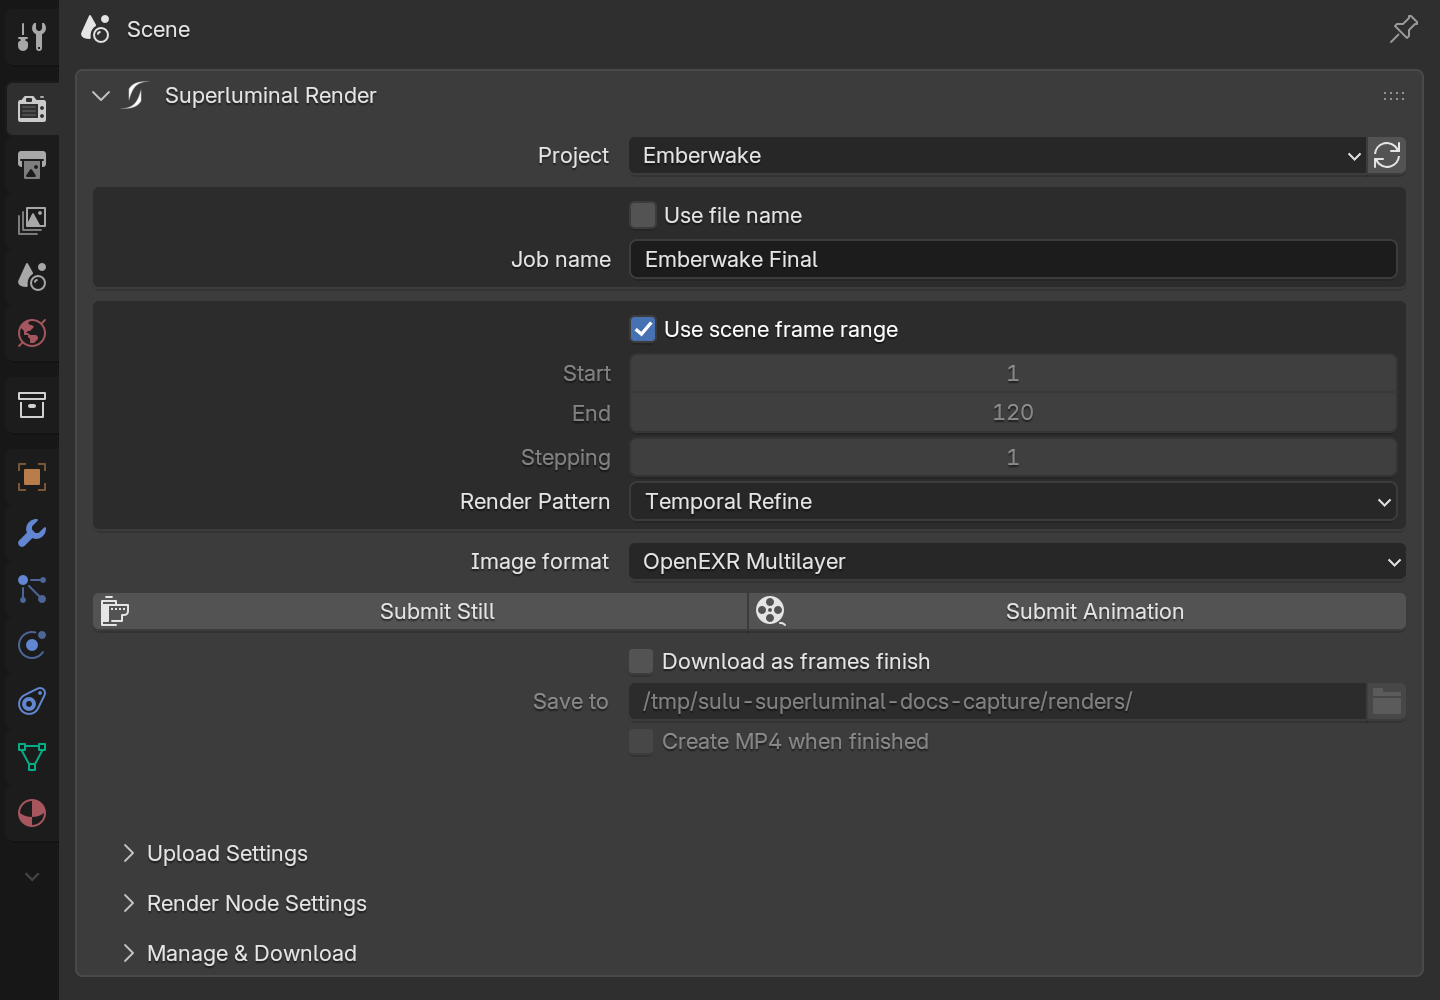
*A configured job seconds before submission.*
Watch registration and rendering
A terminal reports tracing, packaging, uploading, and registration (how to read it). On success, inspect frames, previews, timings, and logs in the browser.
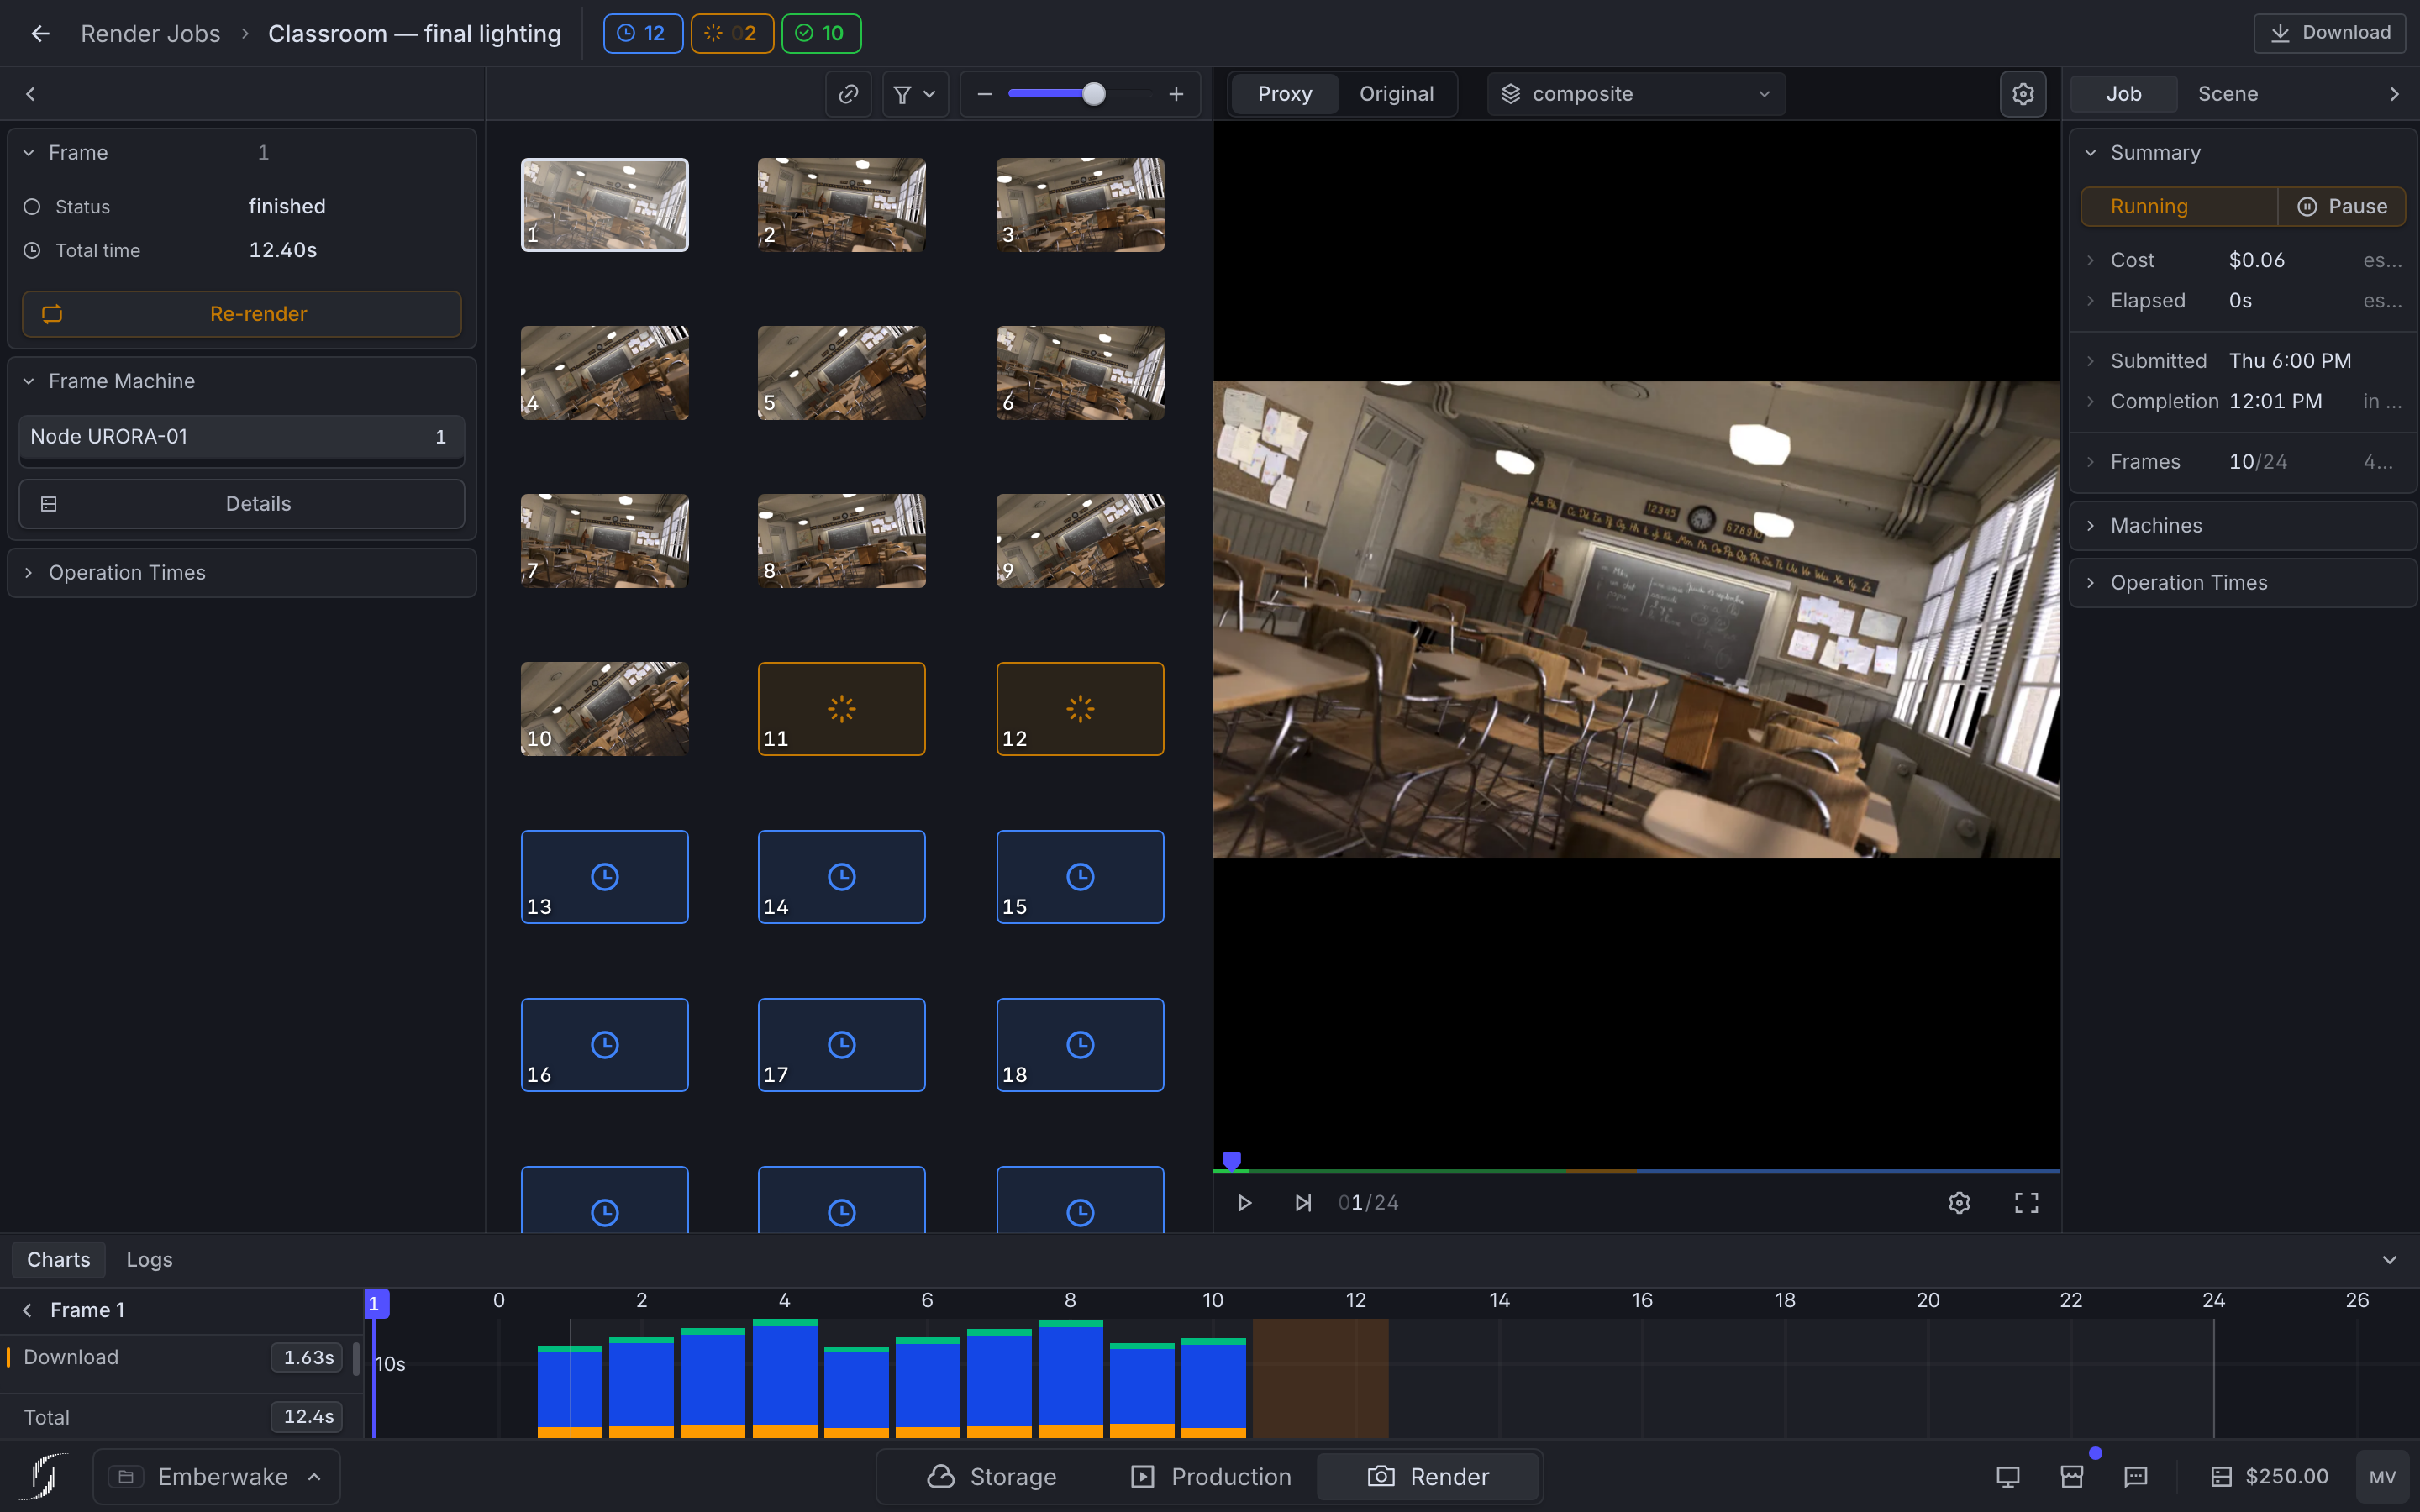
*The job page: frames left, preview center, details right, charts and logs below.*
Download the result
In Blender, expand Manage & Download, select the job, choose a download path, and click Download job output.
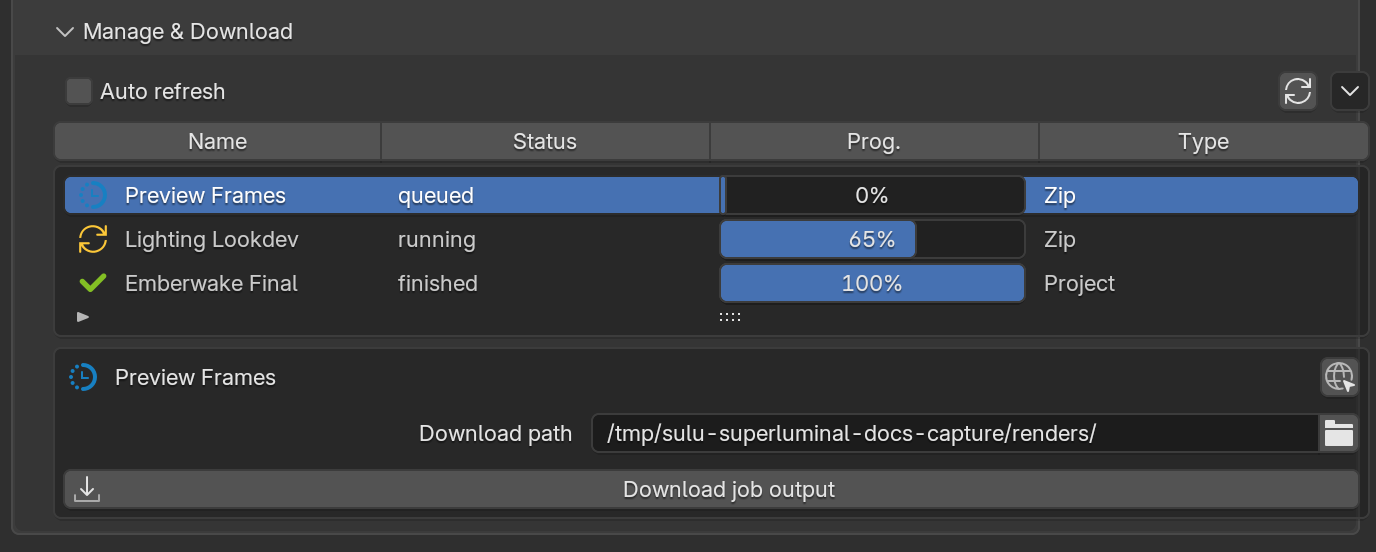
*Original frames download from Blender, not the web page.*
Choose a first test frame
A useful test frame exercises the production range's features: linked files, simulations or caches, geometry nodes, render-time extensions, compositing, view layers, and file-output nodes. Frame 1 proves nothing when those features appear later.
Then submit the animation
When the downloaded test output is correct, switch to Submit Animation. Confirm range, step, and render order first.
Where to go next
- Install and connect: Compatibility, farm versions, upgrades, browser auth, password fallback.
- Choose an upload mode: ZIP, PROJECT, project roots, relative paths, cross-drive limits.
- Configure a job: Still versus animation, image formats, frame ranges, render order.
- Troubleshoot: Missing assets, registration delays, frame errors, downloads.