Render farm user interfaces, compared
By Superluminal Engineering
We recorded nine submission workflows and scored 72 interface features against the evidence. Superluminal confirmed all eight monitoring features.
Published 2026-08-05 · Updated 2026-08-07
- Recorded runs
- 43
- Published interface images
- 40
- Verified feature cells
- 72
- Submission families
- 4
- Longest check before rendering
- 55 min 59 s
9 services and four standard Blender scenes.
Thirty-six workflow stills and four current feature-audit stills.
Eight interface features checked for each of the nine services.
Blender add-on, desktop client, browser, and remote workstation.
Blendergrid checked the uploaded Classroom scene before pricing it.
We checked 43 recordings, the retained benchmark jobs, current desktop clients, and provider documentation. A feature gets Yes when the interface or current documentation confirms it. No means we did not find it in the screens and sources checked.
Interface feature ranking
Sorted by Yes results, then Partial results. iRender is unranked because it rents a workstation instead of managing render jobs.
| Ranked service | EXR layers | Frame timing | Render stages | Logs | Capacity shown | Machine details | Frame view | Playback while rendering |
|---|---|---|---|---|---|---|---|---|
| 1 Superluminal | Yes | Yes | Yes | Yes | Yes | Yes | Yes | Yes |
| 2 GarageFarm | No | Yes | Partial: worker-group stages | Yes | Yes | Yes | Yes | No |
| 2 RebusFarm | Yes | Yes | No | Partial: supported renderers | Yes | No | Yes | Yes |
| 4 Fox Renderfarm | No | Yes | No | Yes | Yes | Yes | Yes | No |
| 5 RenderStreet | No | Yes | No | No | Yes | Partial: device class and count | Yes | Yes |
| 6 Render Network | Partial: downloadable passes | No | No | No | Partial: active frames only | Yes | Yes | Yes |
| 7 RenderJuice | Partial: separate browser viewer | No | No | Yes | No | No | Yes | No |
| 8 Blendergrid | No | No | No | No | No | No | Yes | No |
| Unranked iRender | Not applicable | Not applicable | Not applicable | Not applicable | Yes | Yes | Not applicable | Not applicable |
The evidence for all 72 cells records the screen or source behind each answer.
Superluminal
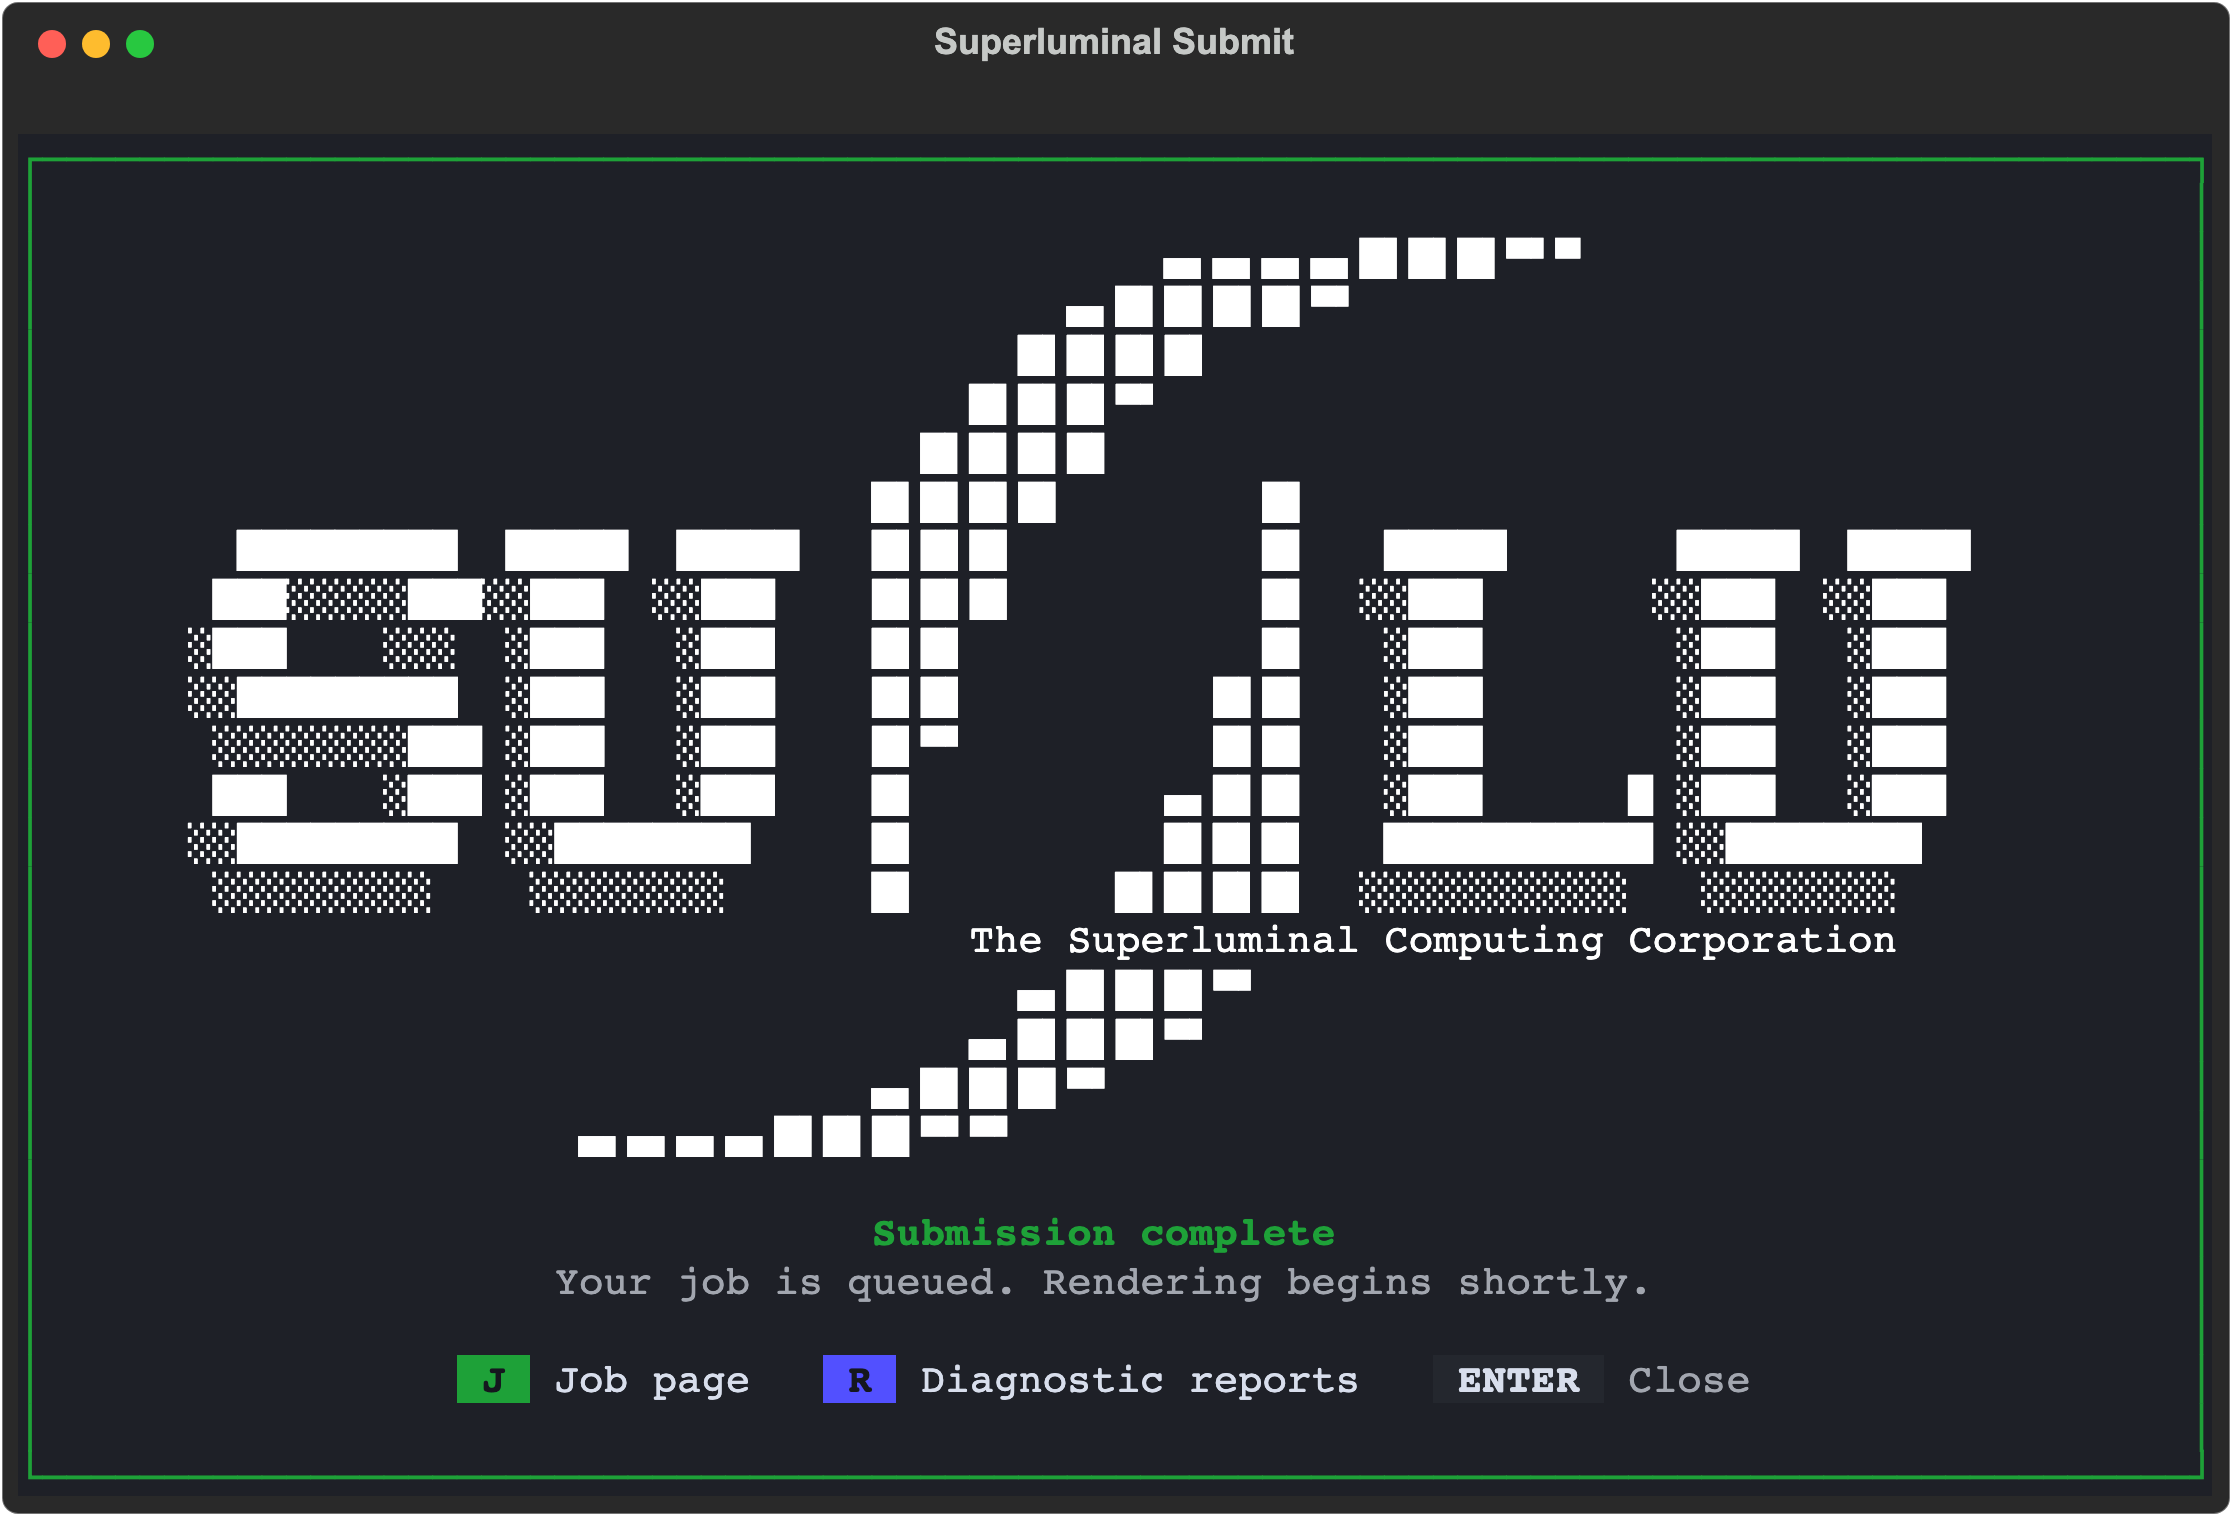
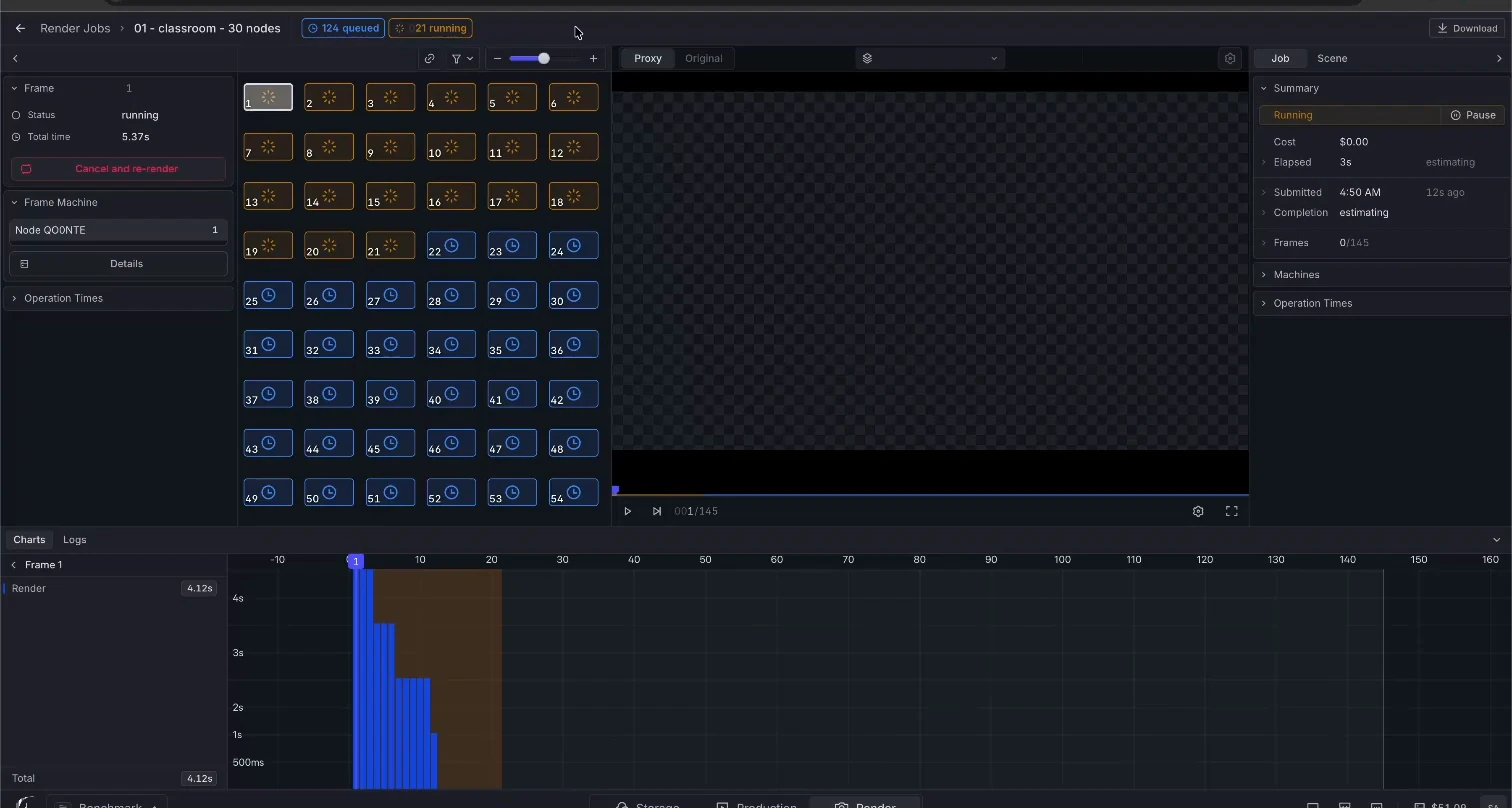
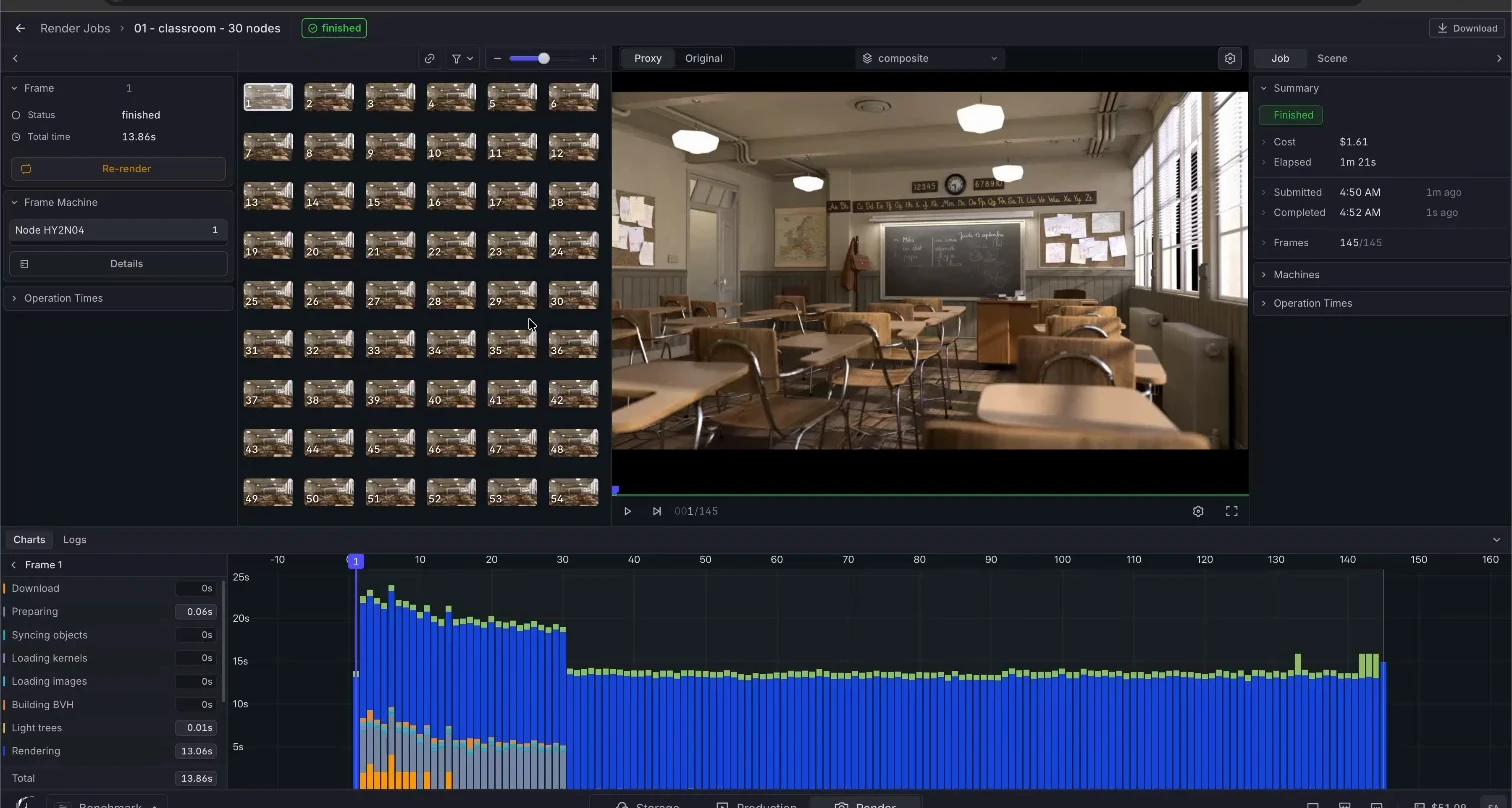
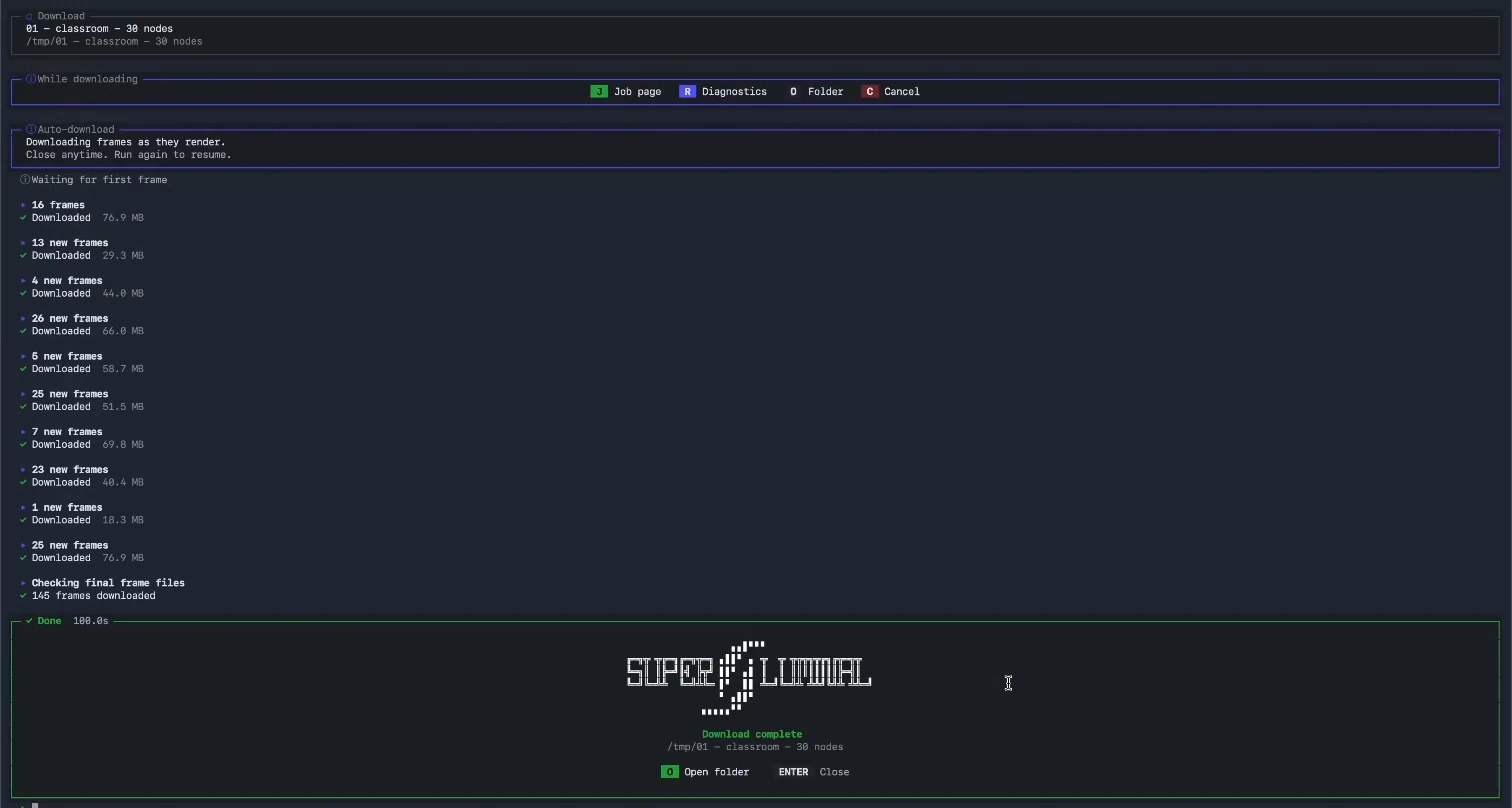
The whole submission starts in Blender:
- Choose the project, Blender version, node count, output, and required add-ons.
- Select Submit. The add-on checks external files, packages the project, and uploads it.
- The job queues and starts rendering. No second start action.
- The job view shows finished, active, and queued frames. With live download enabled, completed files start moving to local disk.
The August 6 Classroom recording showed 30 selected nodes and all 145 frames at completion.
The job submission guide covers the Blender controls. The job details guide explains the frame viewer, timing chart, machine data, and logs. The interface guide walks the full workflow.
Blendergrid
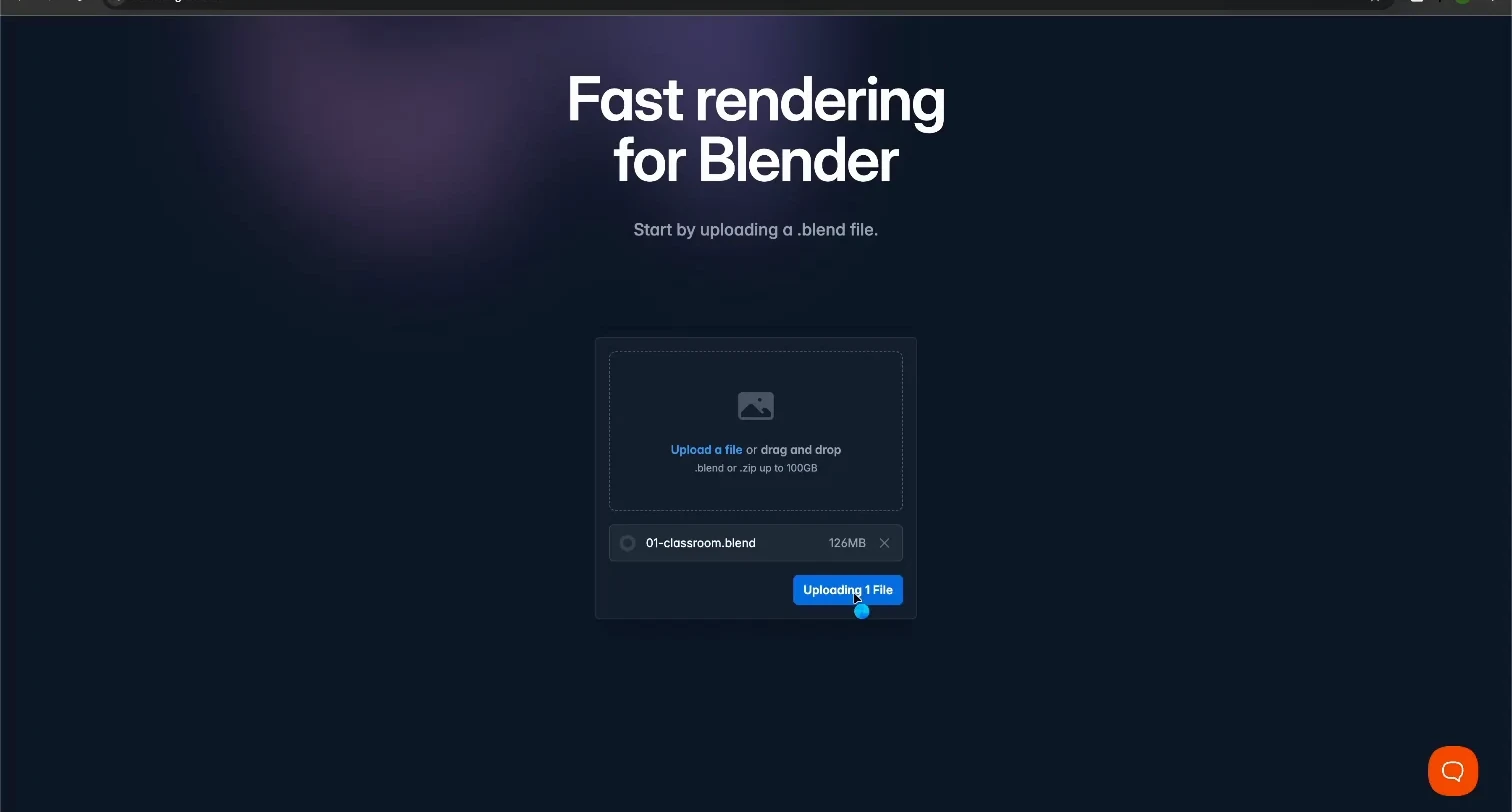
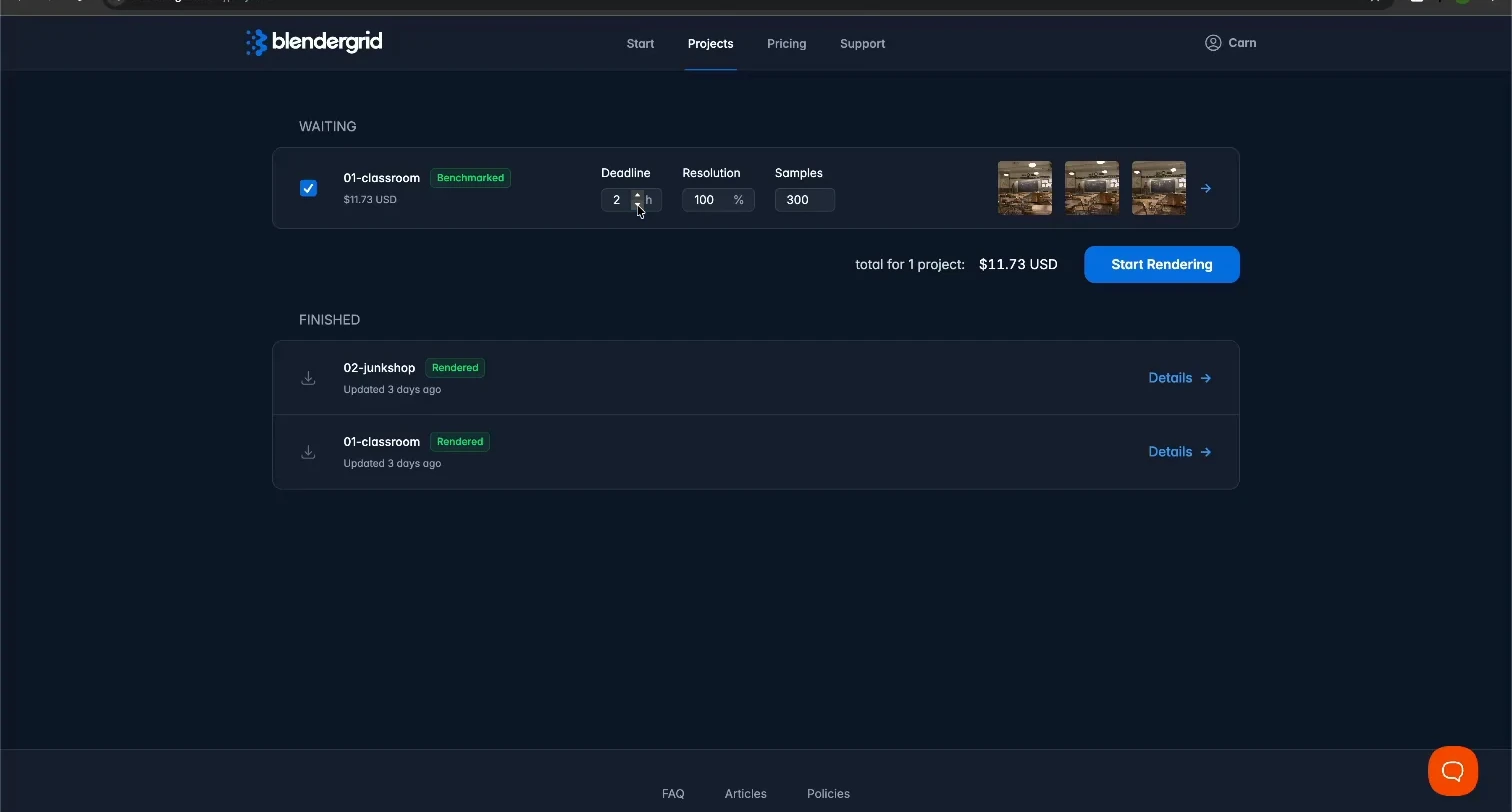
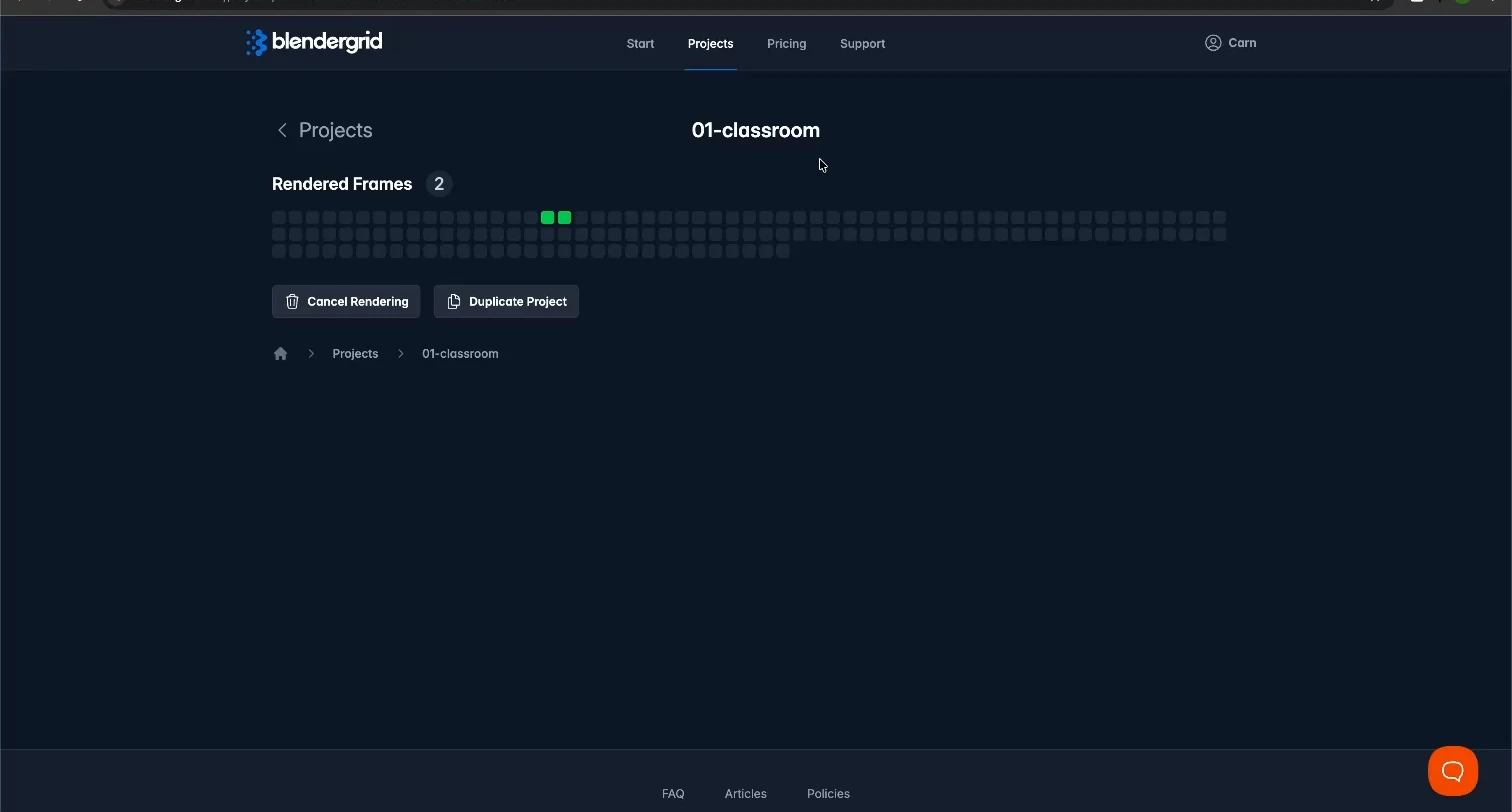
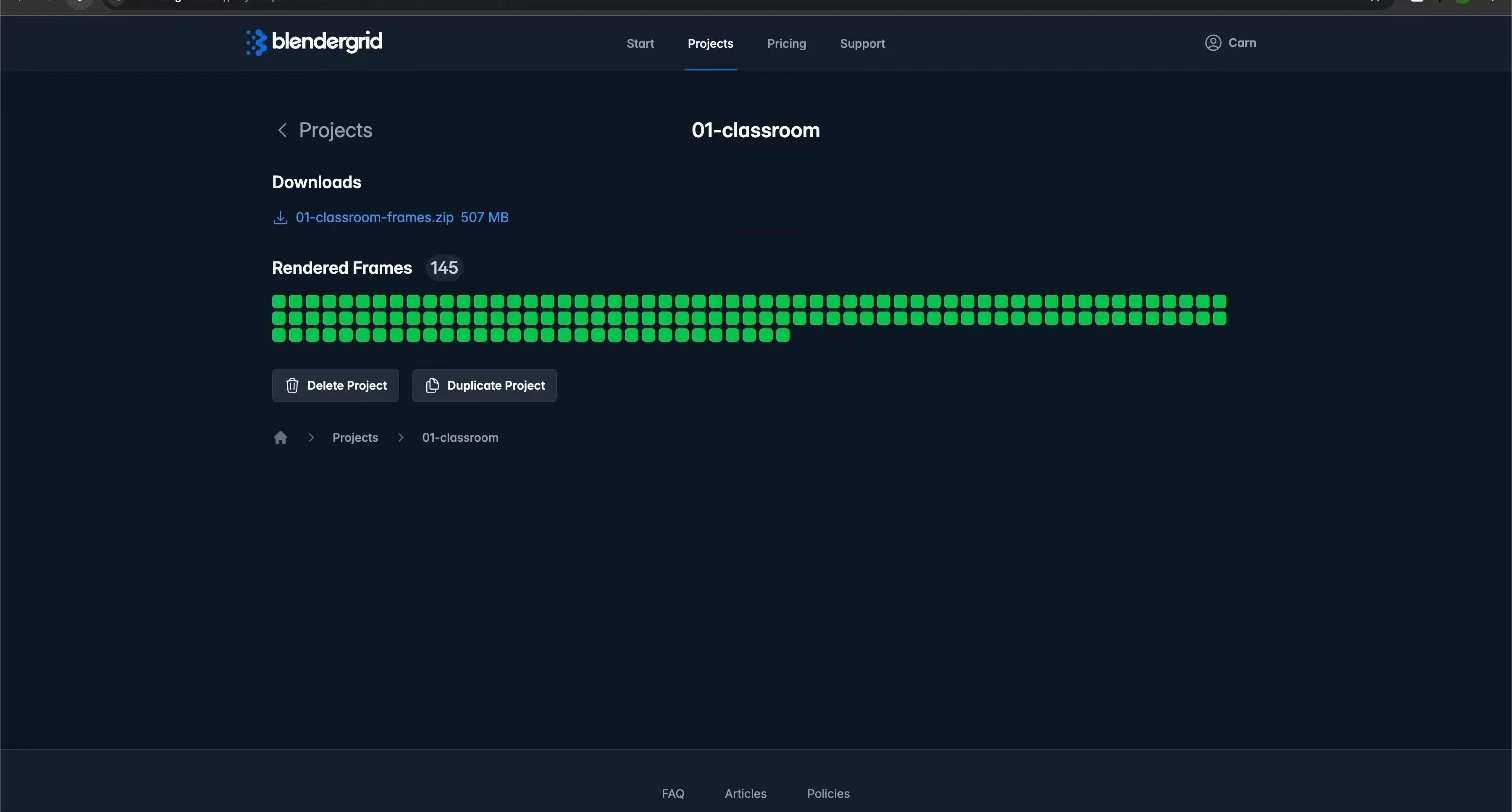
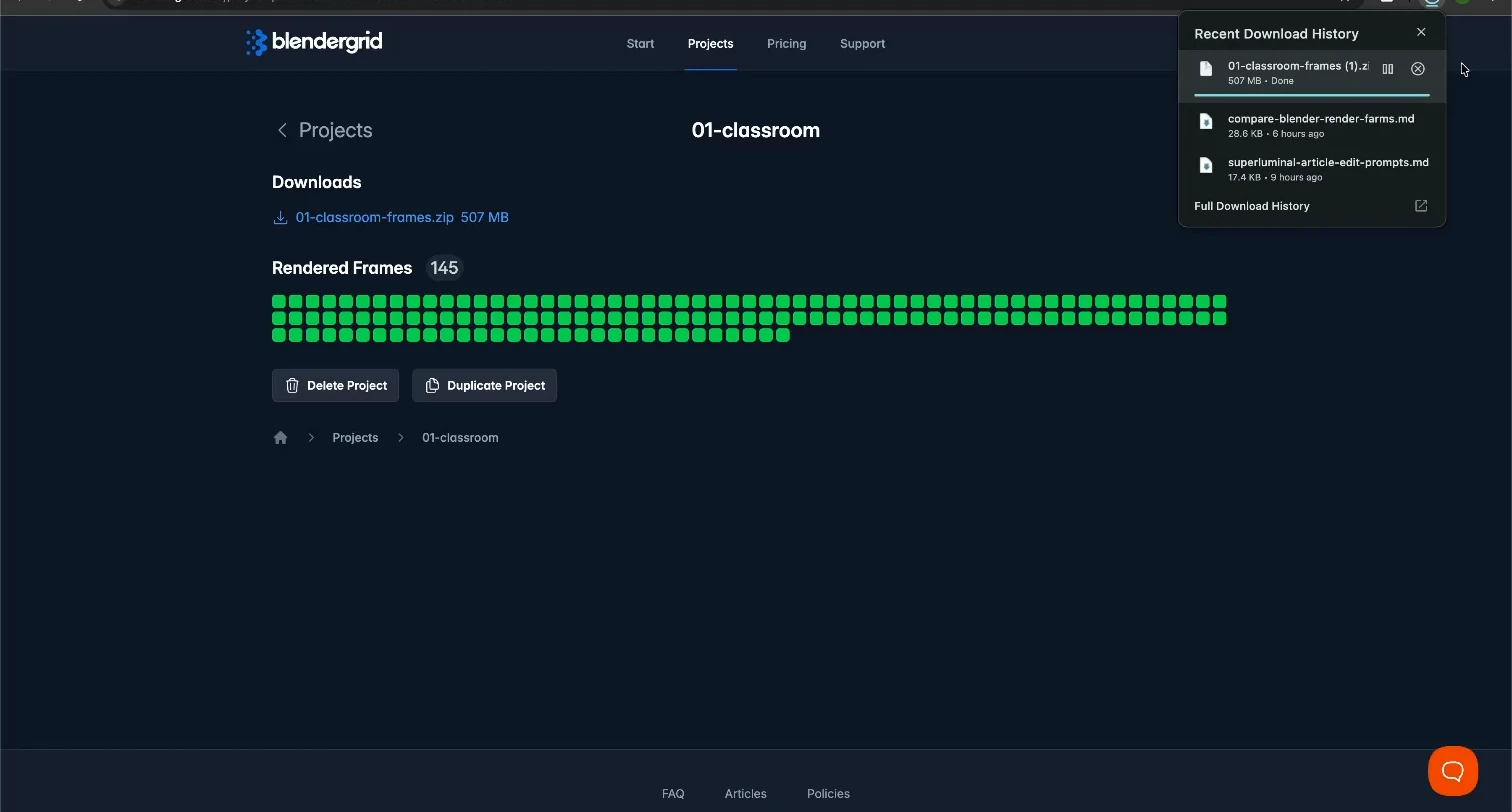
Each recorded Blendergrid job required four stages:
- Upload the project in the browser.
- Wait for the scene check.
- Confirm the scene settings and wait for price calculation.
- Choose a deadline quote and start the render.
Classroom reached render submission 373.0 seconds after upload began, Junk Shop 617.8, Monster 206.3.
The job page showed one status tile per frame and no rendered-frame preview. All three runs exposed a ZIP after finalization. The Blendergrid comparison has each phase and displayed quote.
Fox Renderfarm
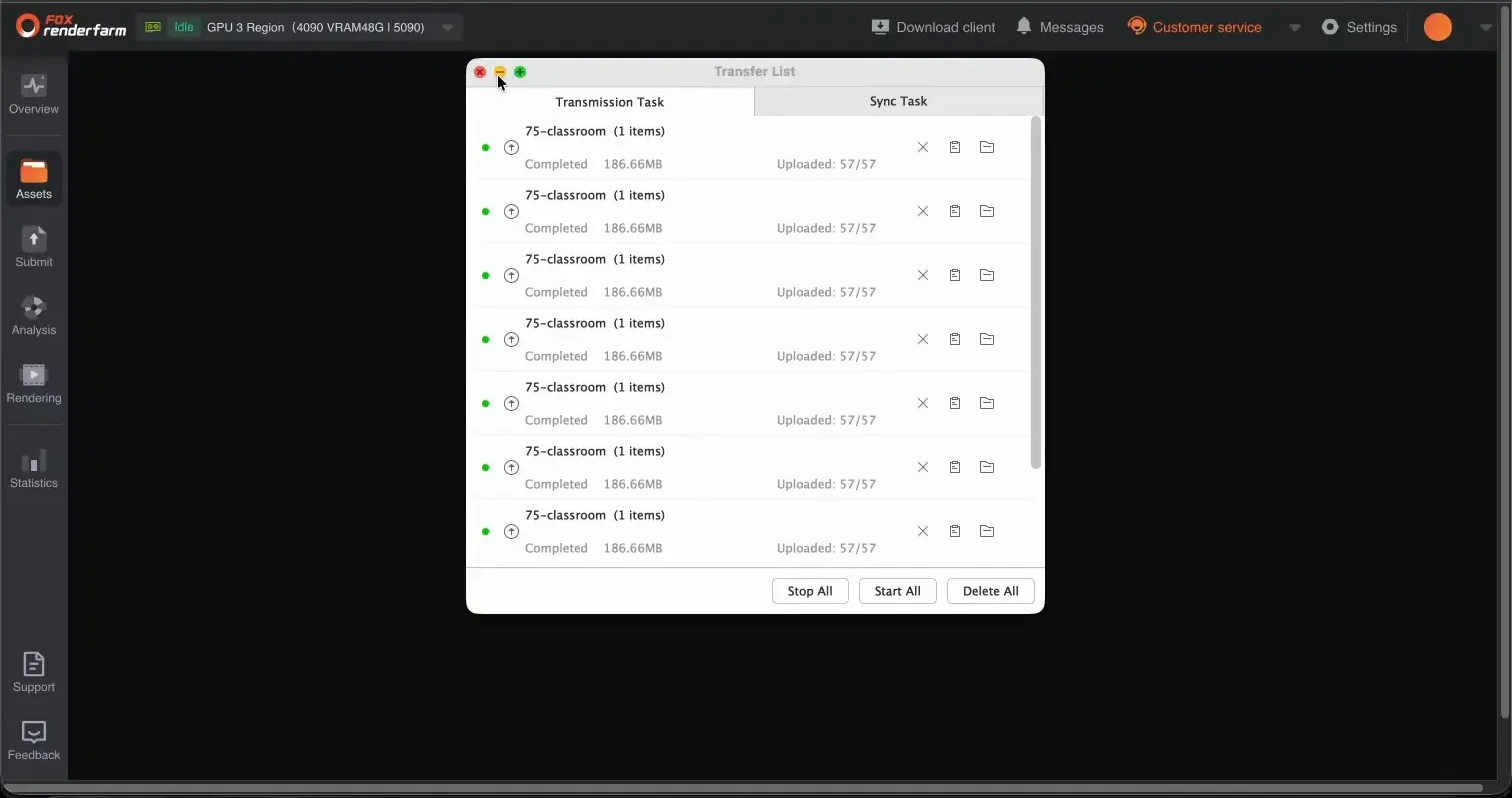
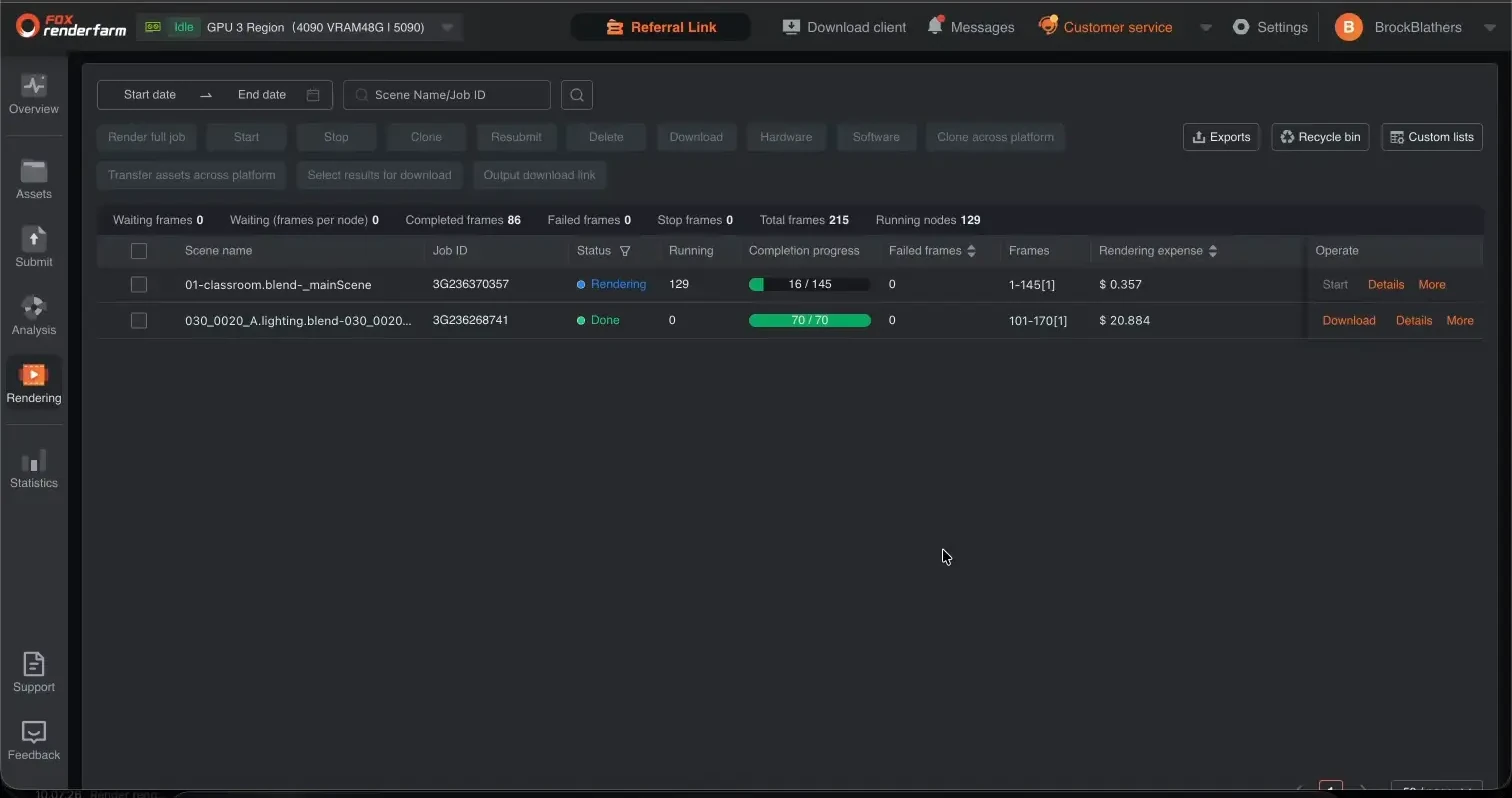
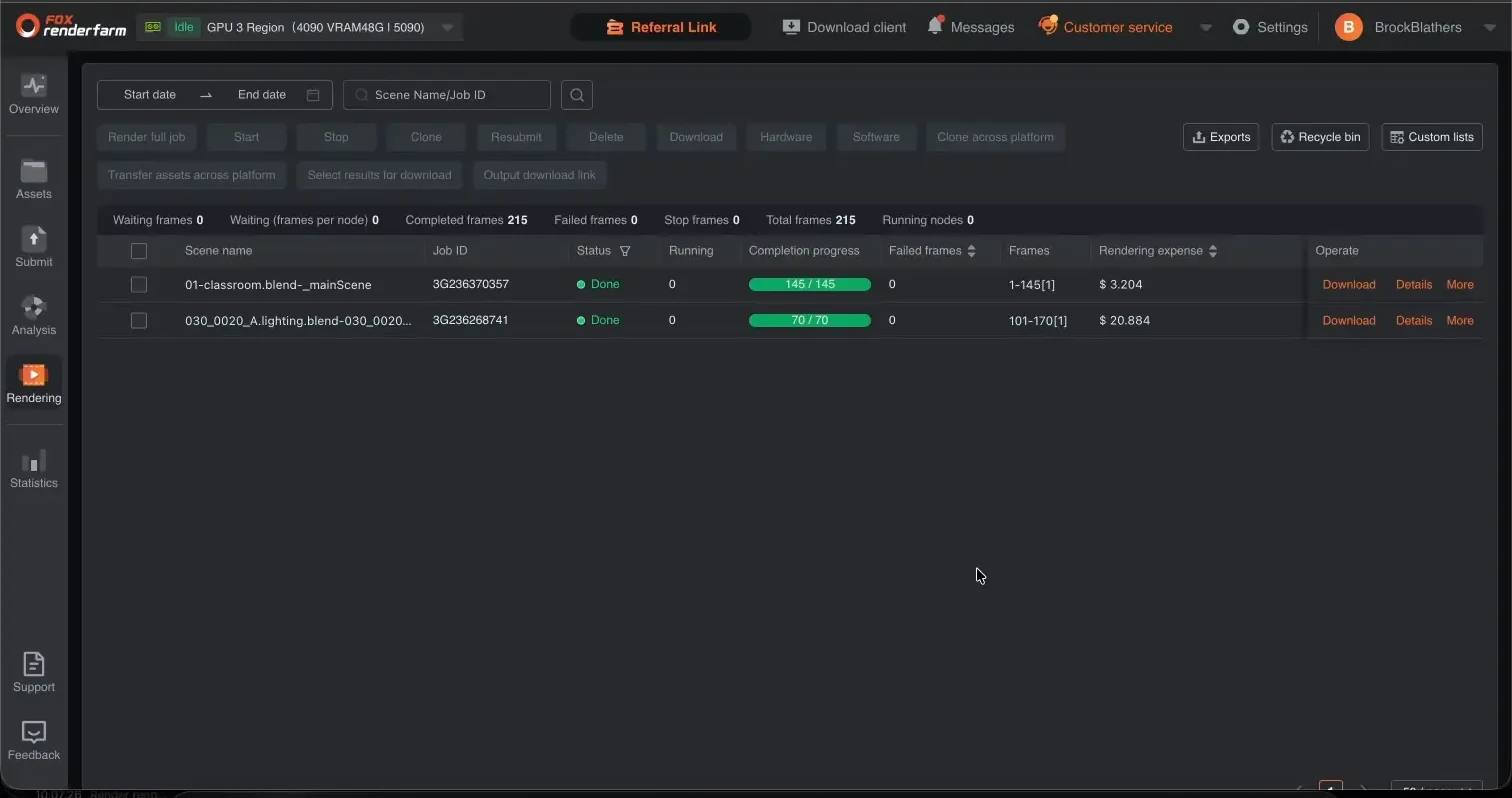
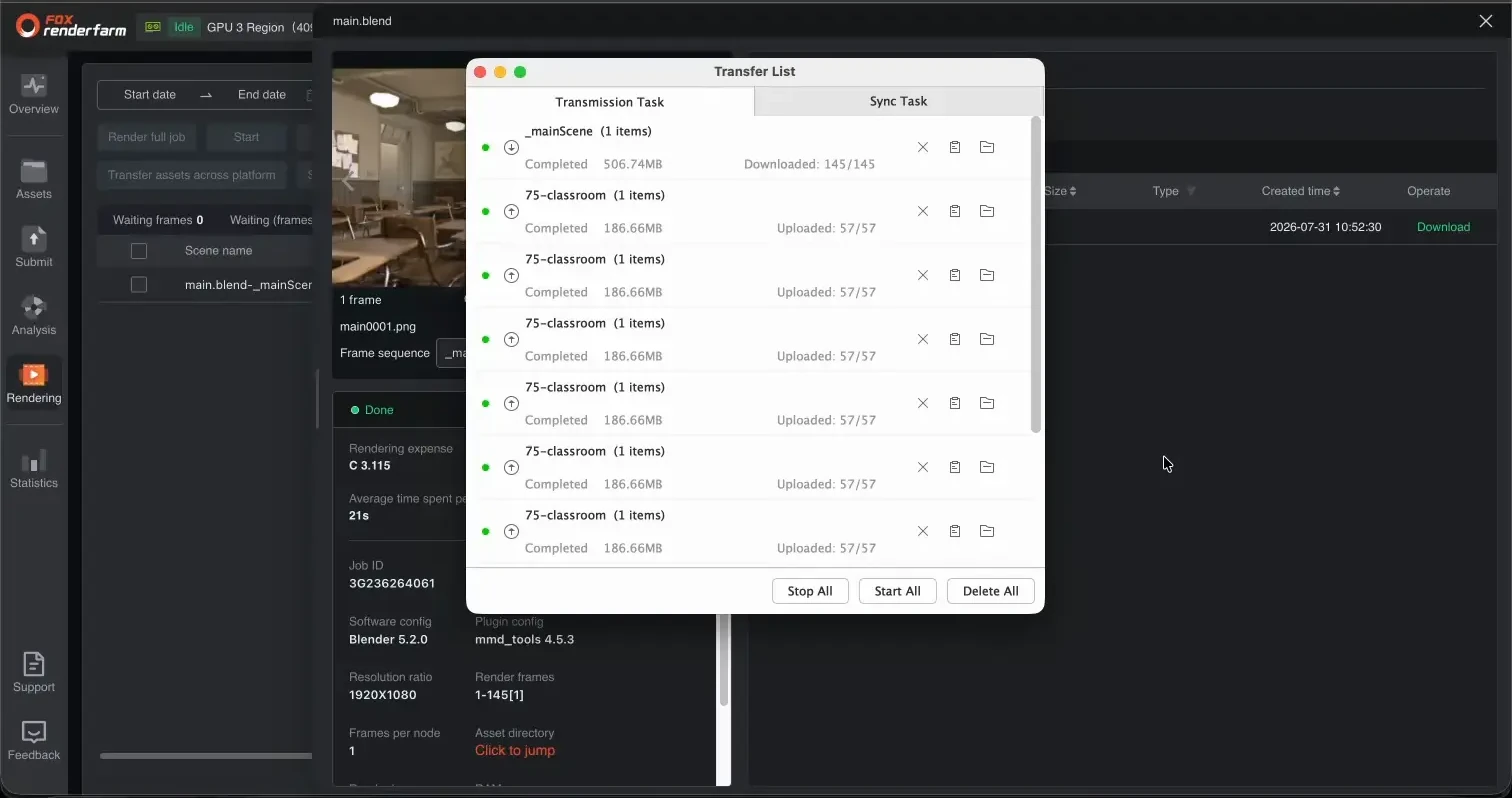
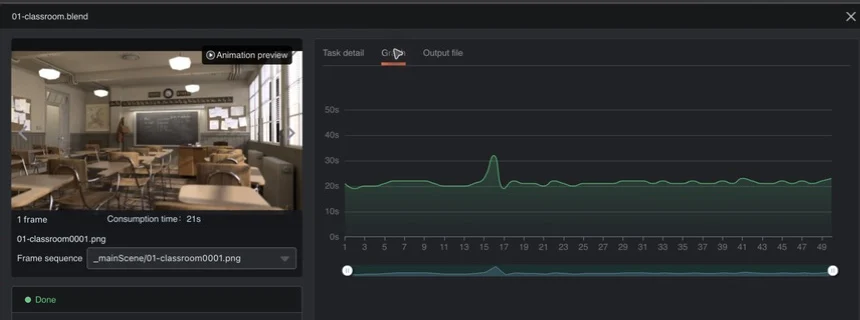
Fox Renderfarm split submission between a desktop client and the browser:
- Upload the project with Raysync.
- In the browser, choose the scene, hardware, and render device.
- Run the required scene analysis.
- Review the result and select Render full job.
The running page showed progress, cost, and running nodes. Classroom peaked at 129 visible nodes. Raysync handled the output download.
A completed task showed a per-frame time graph, timestamped Blender logs, and machine details: RAM, GPU model, GPU memory, GPU count. The Fox Renderfarm comparison has the scene results.
GarageFarm
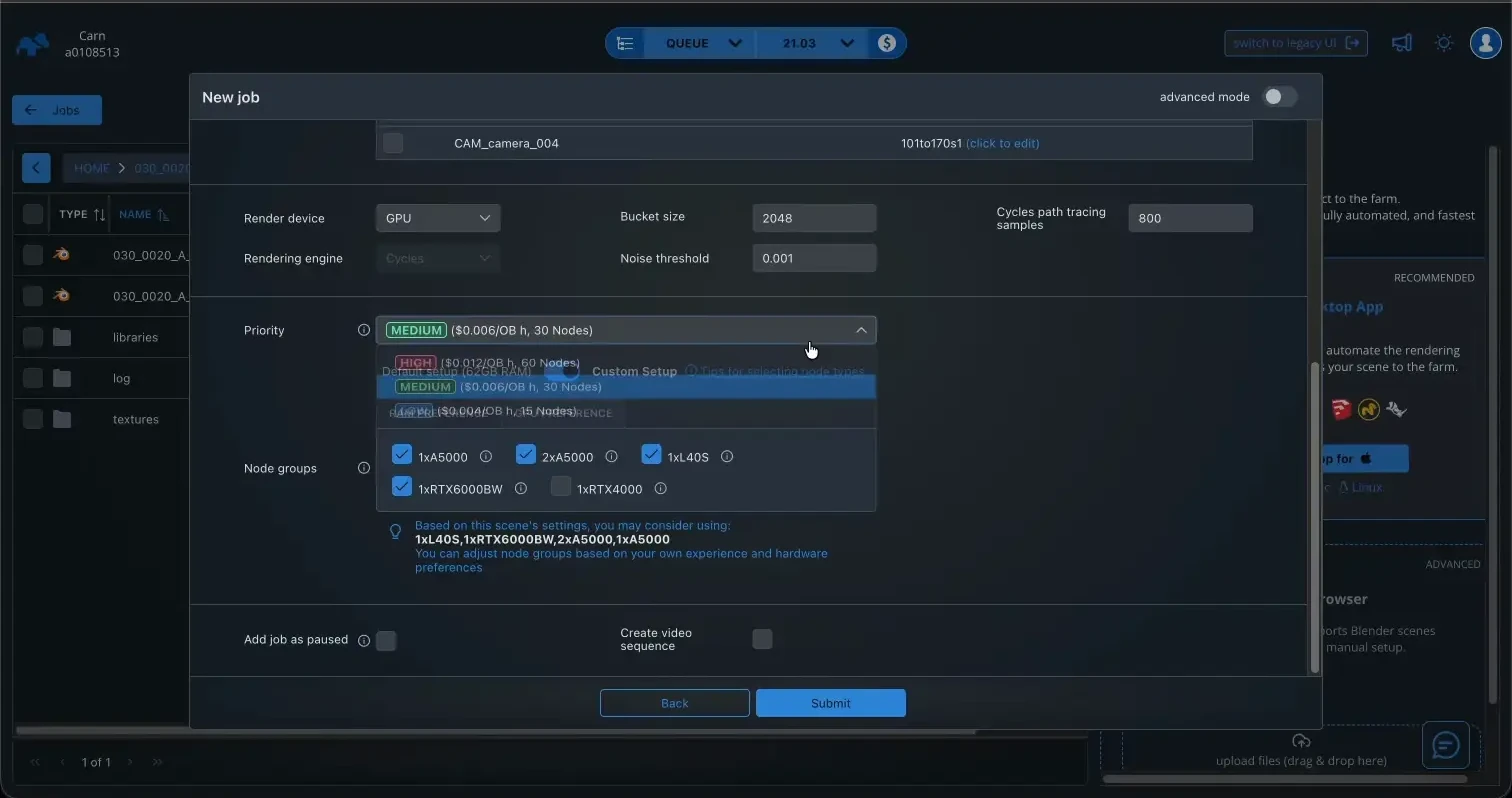
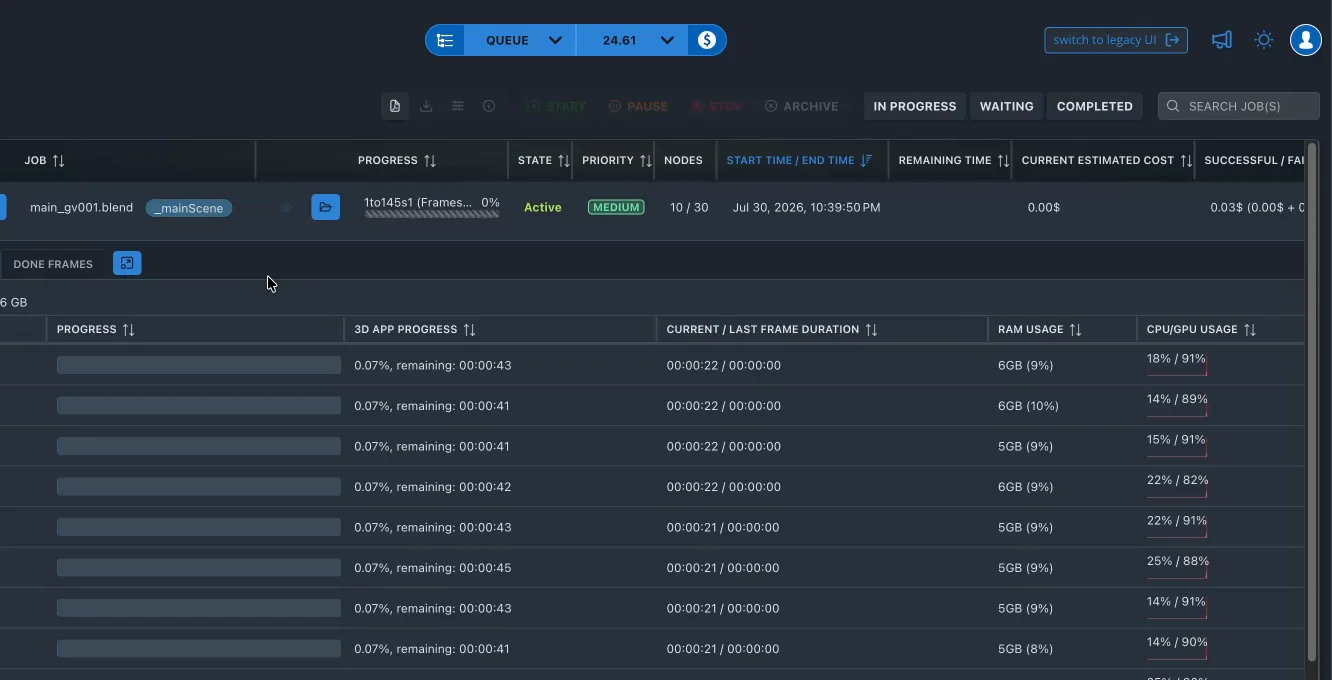
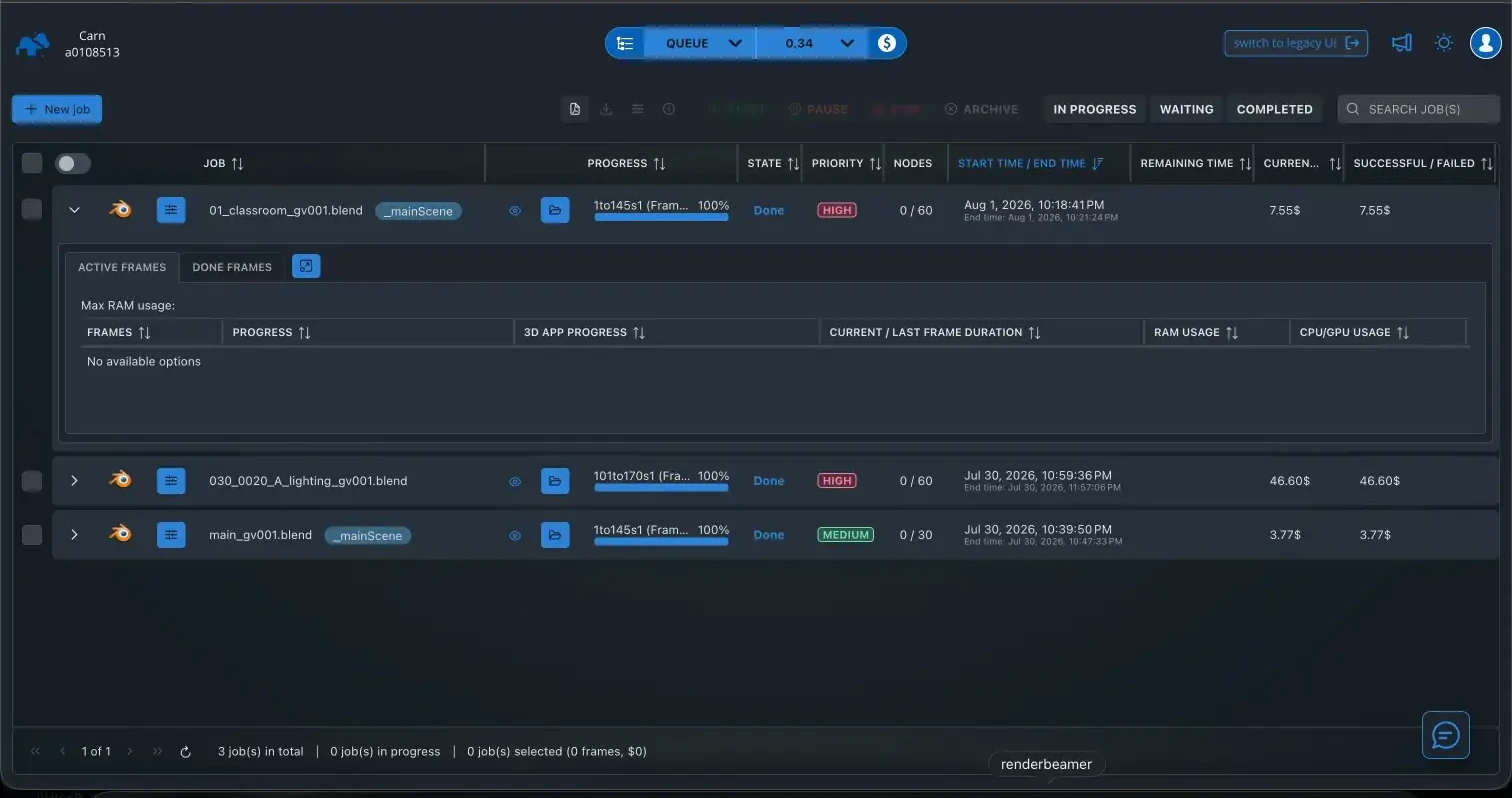
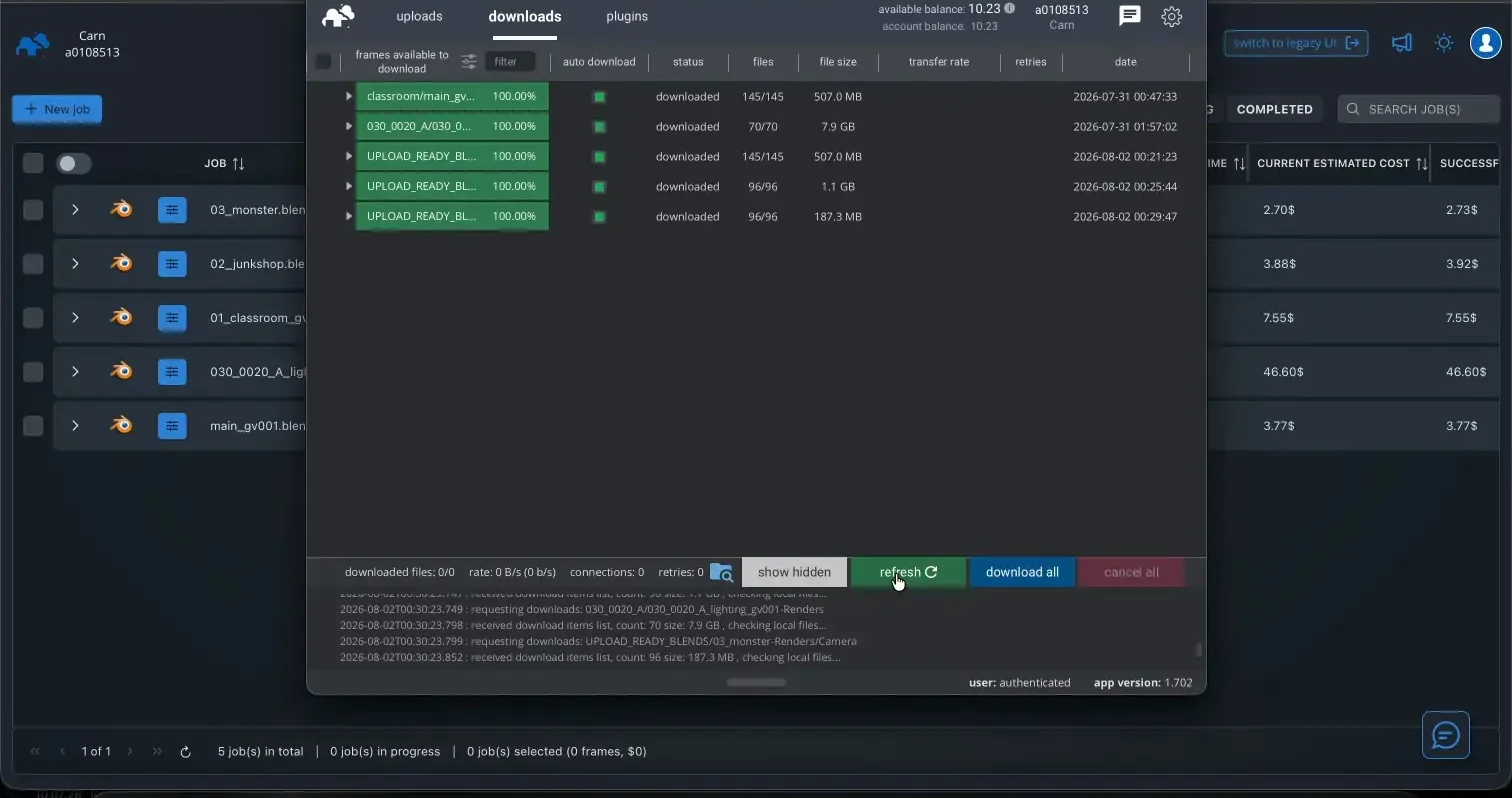
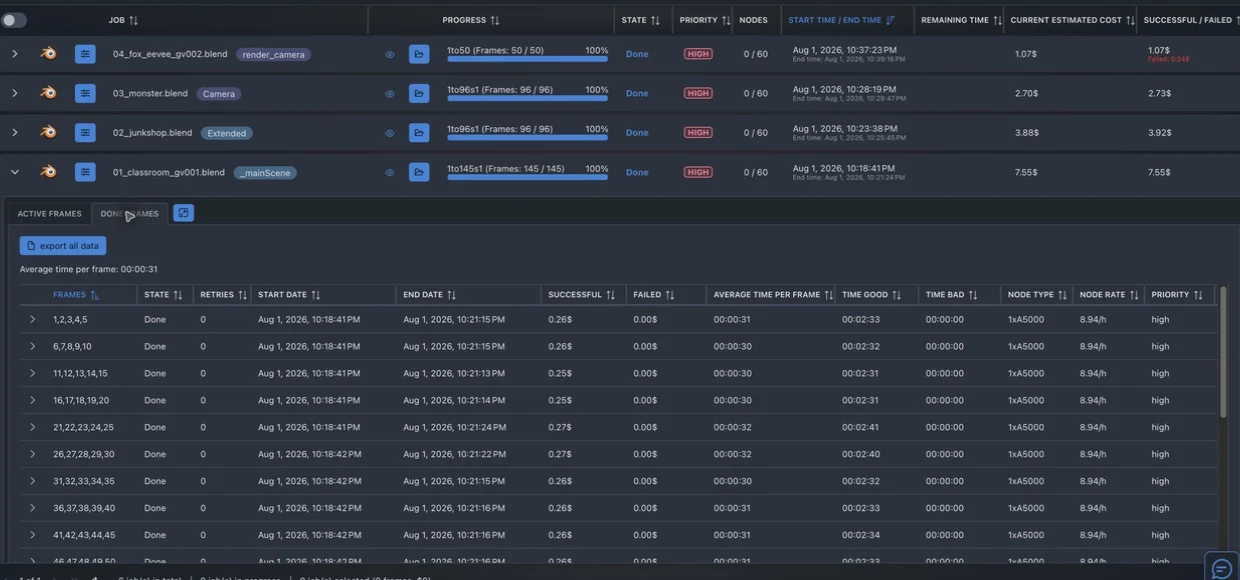
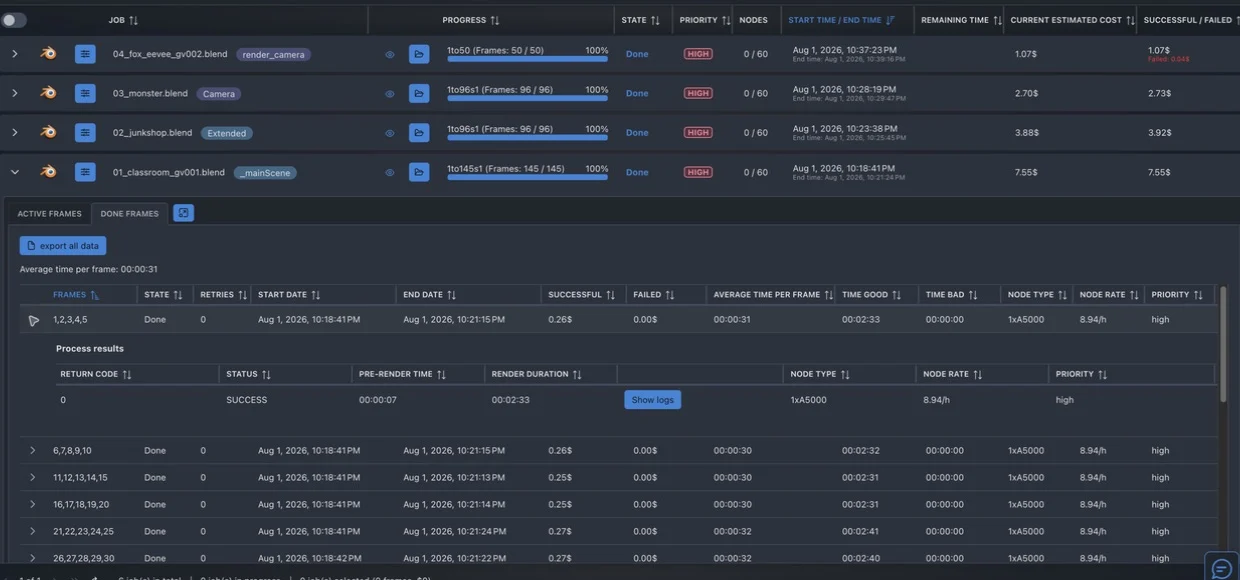
GarageFarm used three connected interfaces:
- Send the Blender scene to renderBeamer.
- Let renderBeamer check, compress, and upload the project.
- Open WebManager, review the settings, choose the priority and node groups, then select Submit.
WebManager showed the active node count and per-worker load. Completed worker groups added average frame time, logs, and separate pre-render and render times, in five-frame groups.
renderBeamer downloaded finished files in the background. For Classroom, the last file reached local disk 301.3 seconds after GarageFarm reported completion. The GarageFarm comparison has all four scene results.
RebusFarm
RebusFarm also moved between local and web tools:
- Send the scene from Blender to RebusDrop.
- Let RebusDrop validate, package, and upload it.
- Open ControlCenter in the browser.
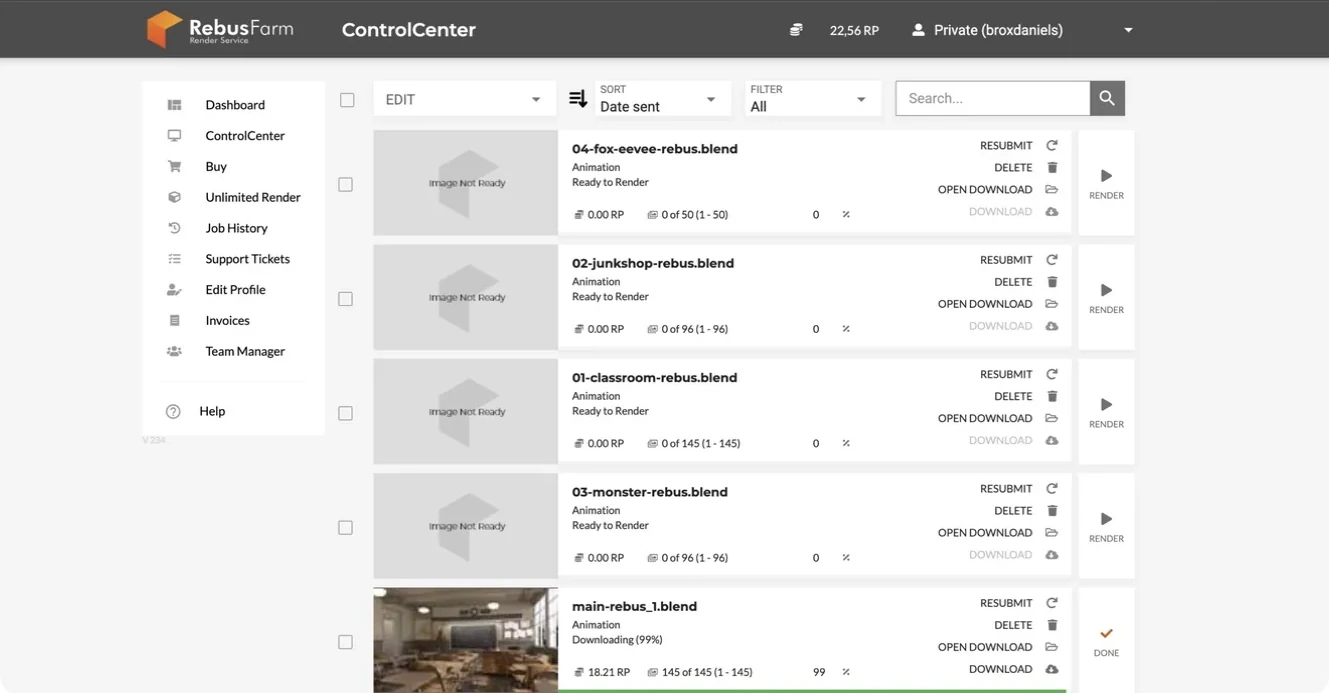
- Find the job marked Ready to Render, choose the tier, and select Render.
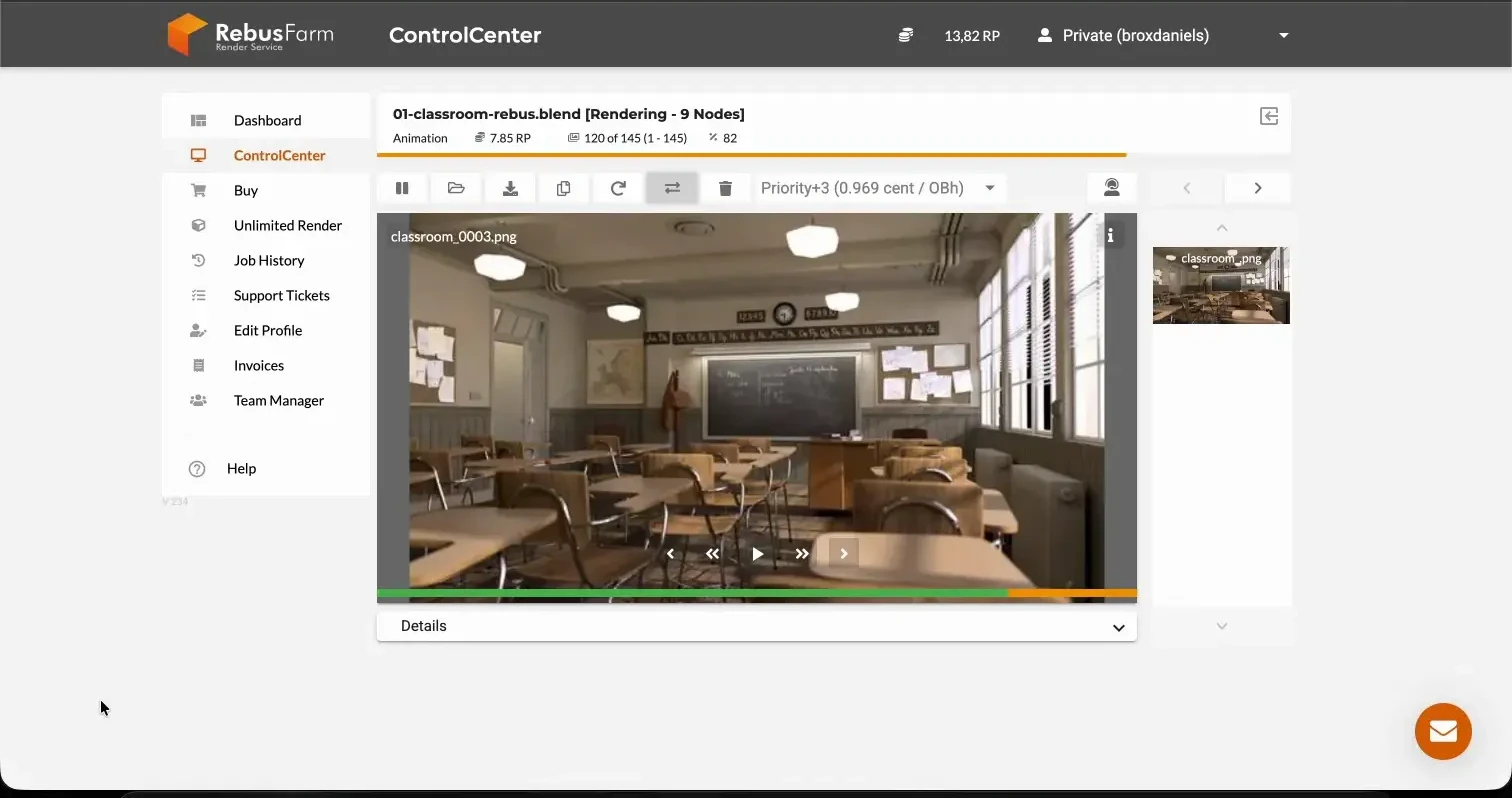
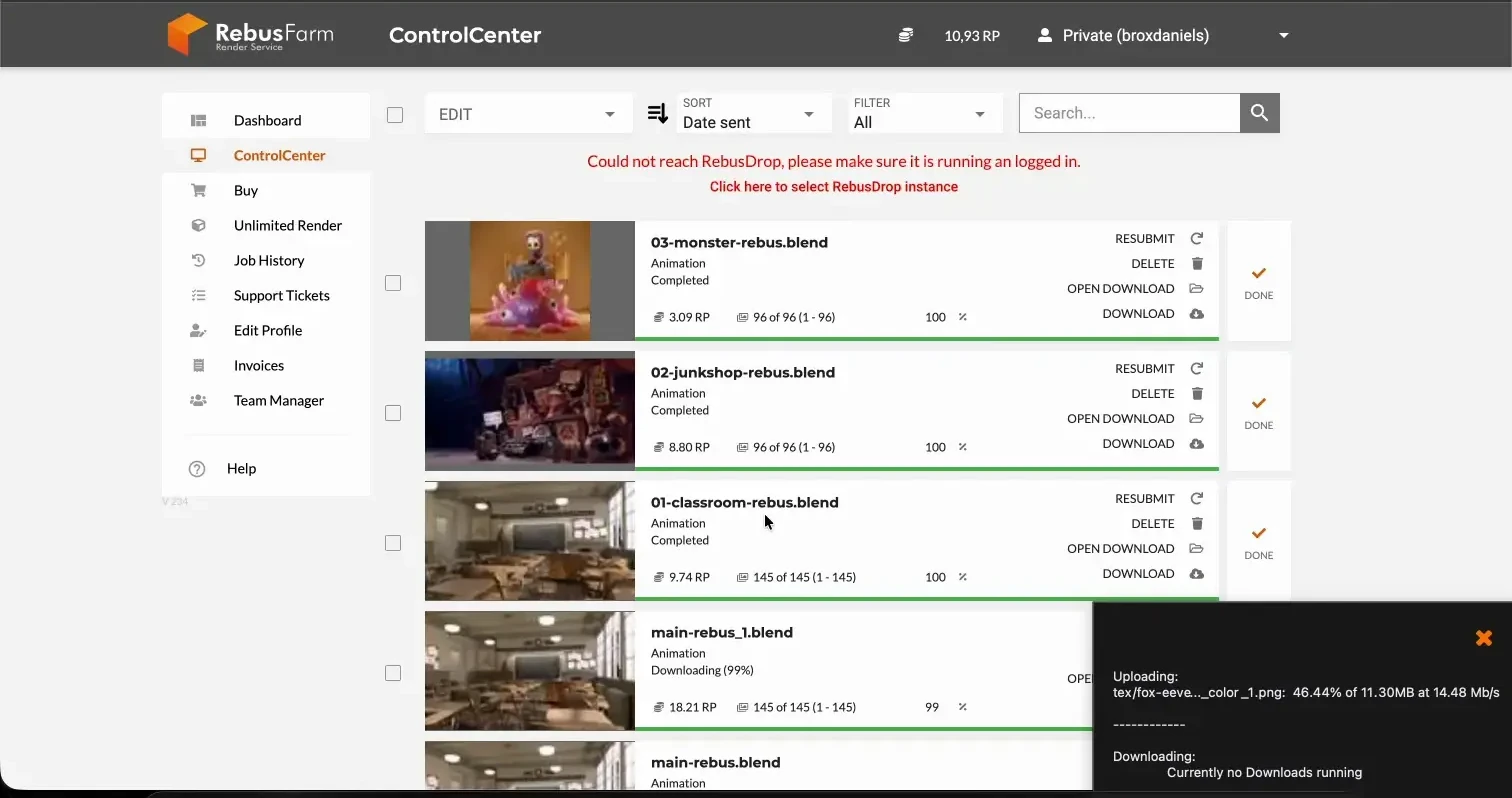
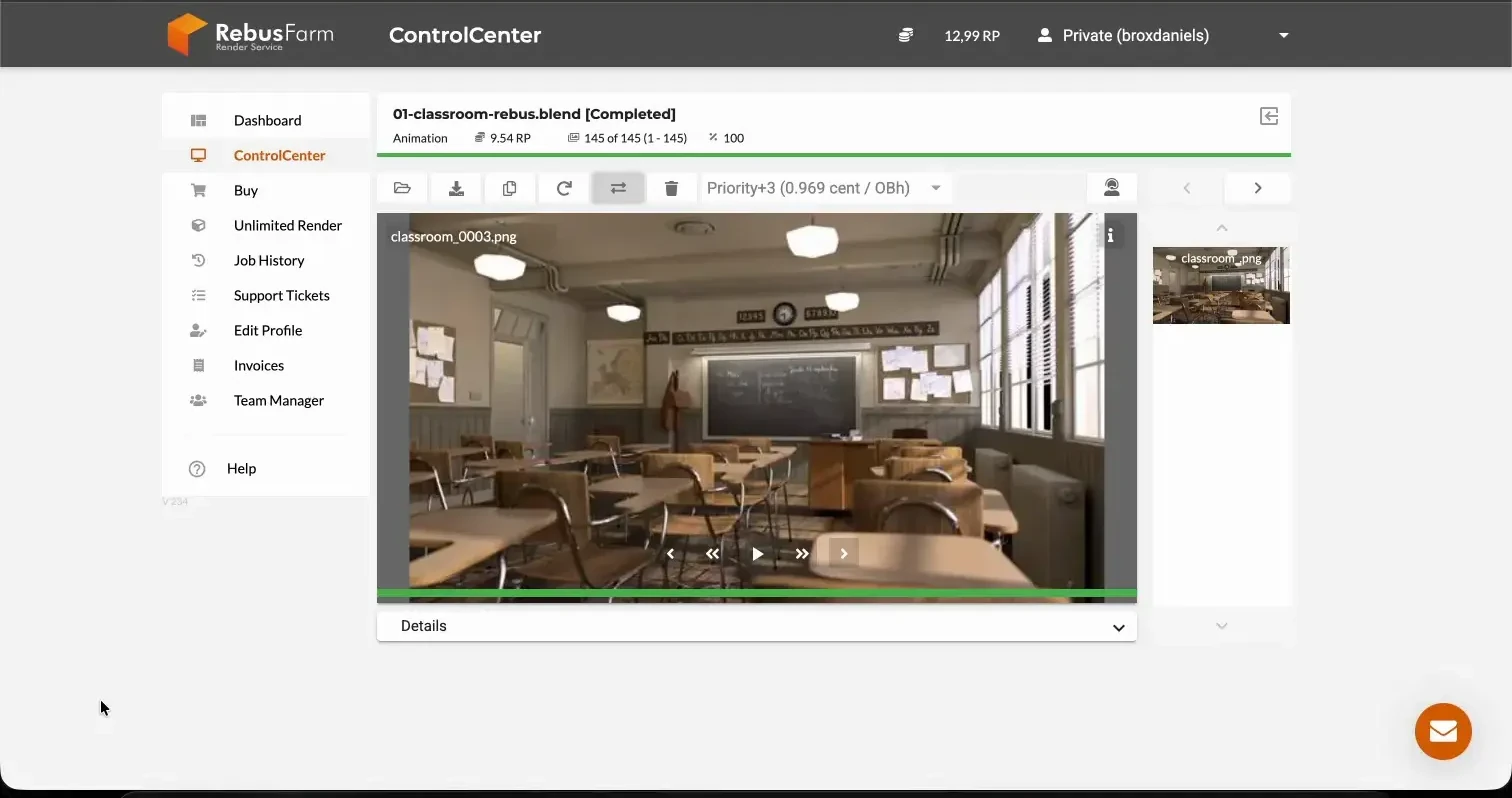
ControlCenter showed the preview, progress, charge, and active node count. Current documentation adds per-frame time, render elements, AOV review, and logs for supported renderers.
RebusDrop downloaded files in the background. The RebusFarm comparison explains the tested tiers and the incomplete Fox (EEVEE) download.
RenderJuice
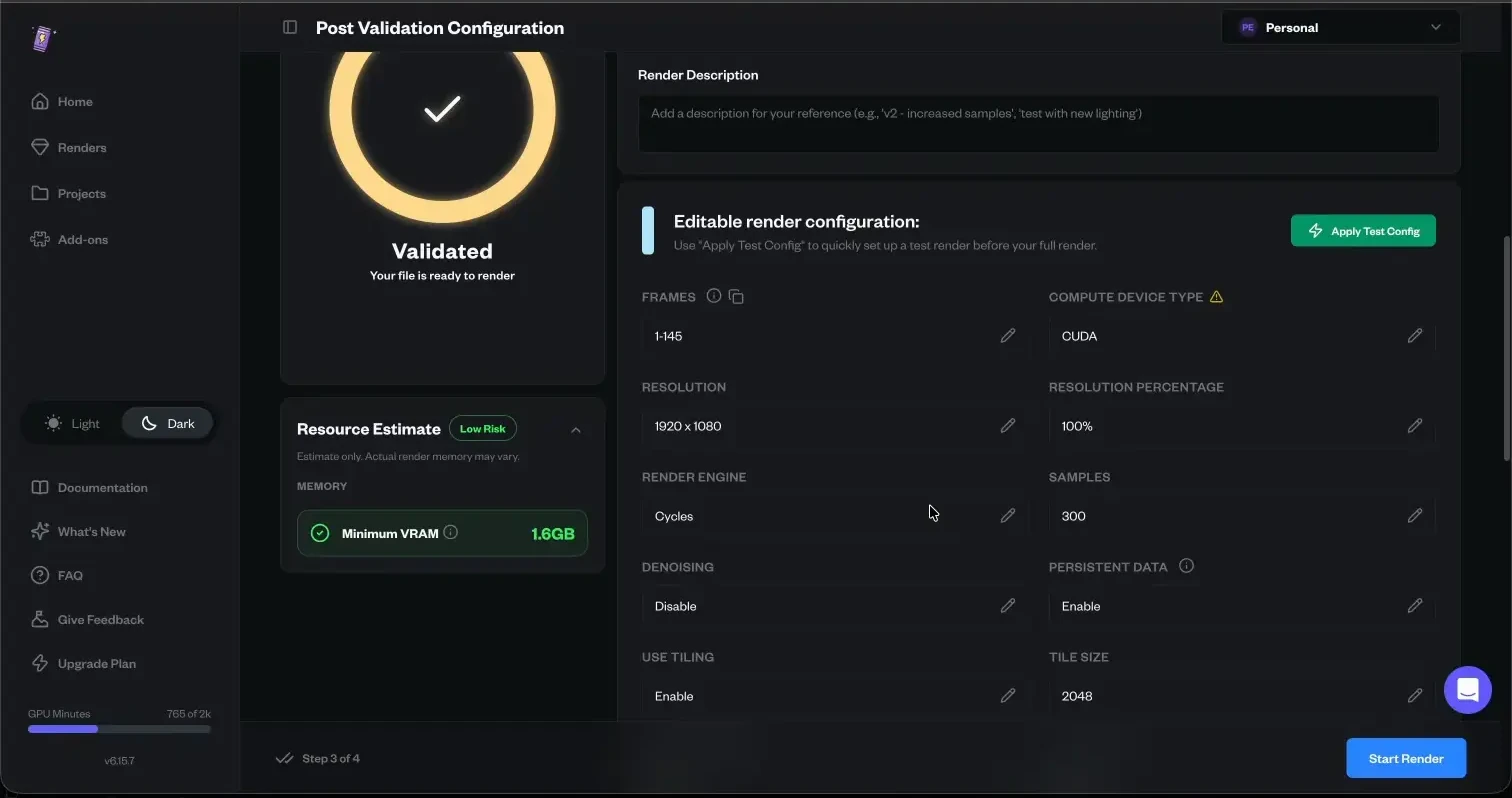
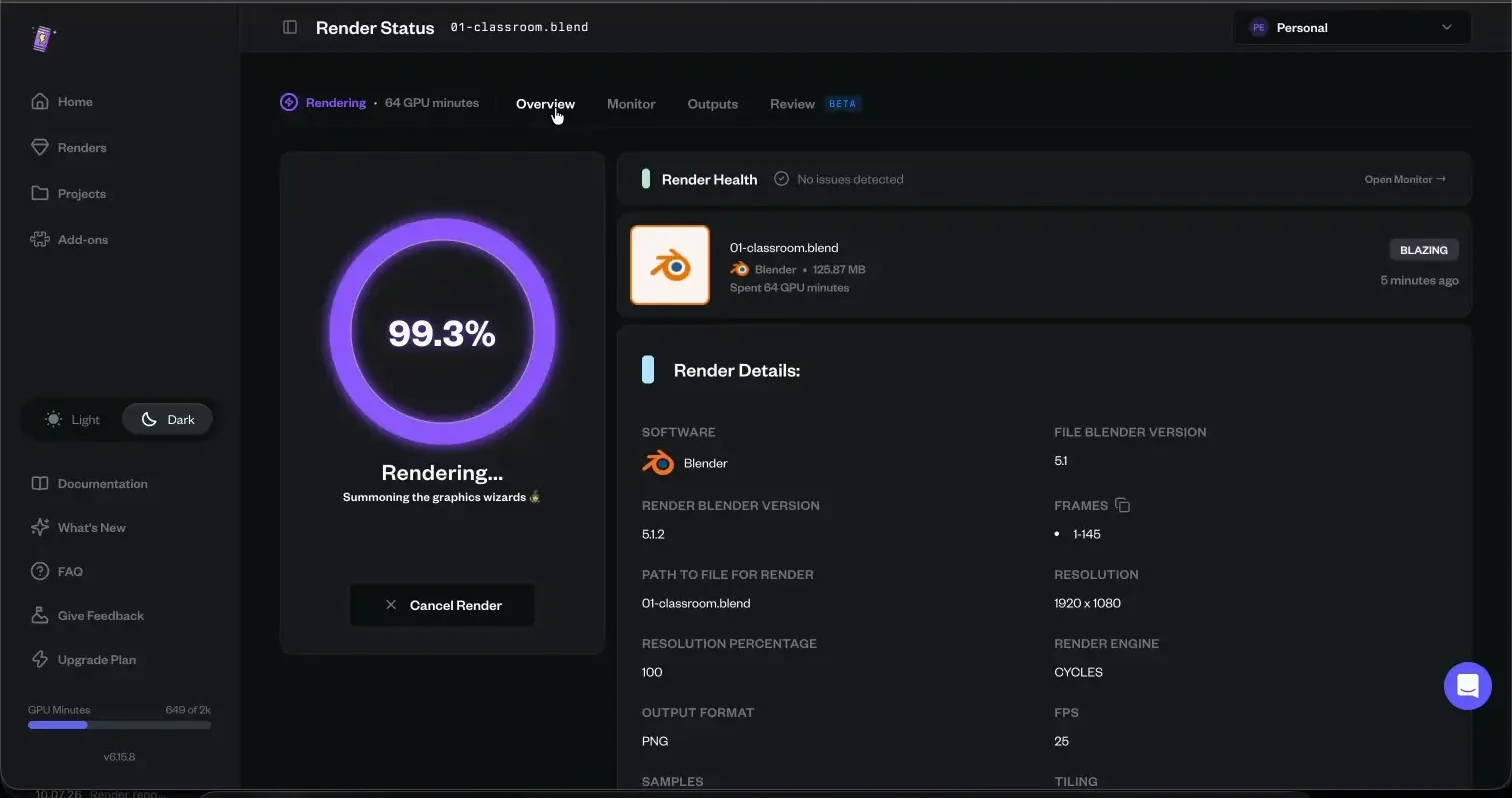
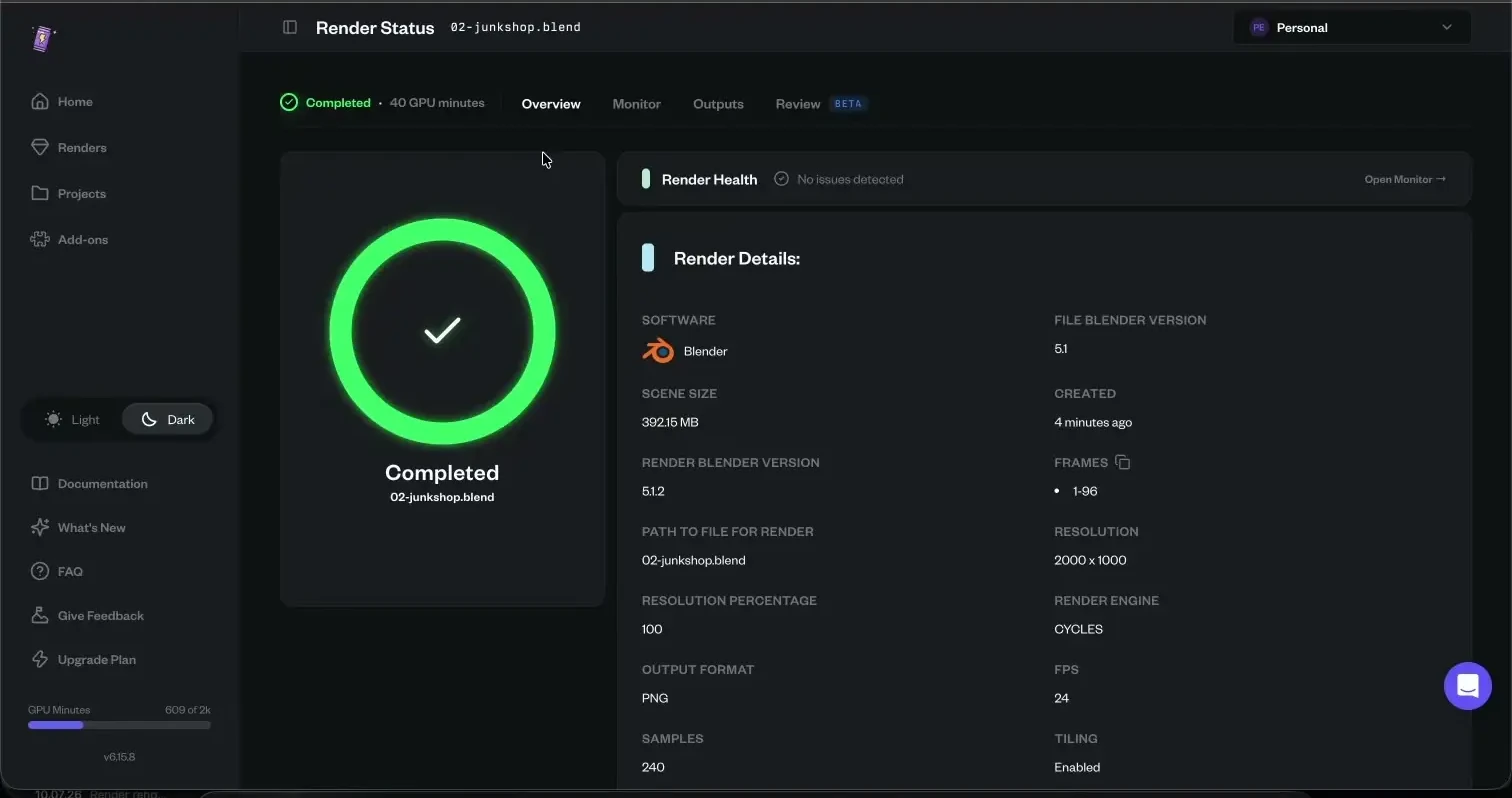
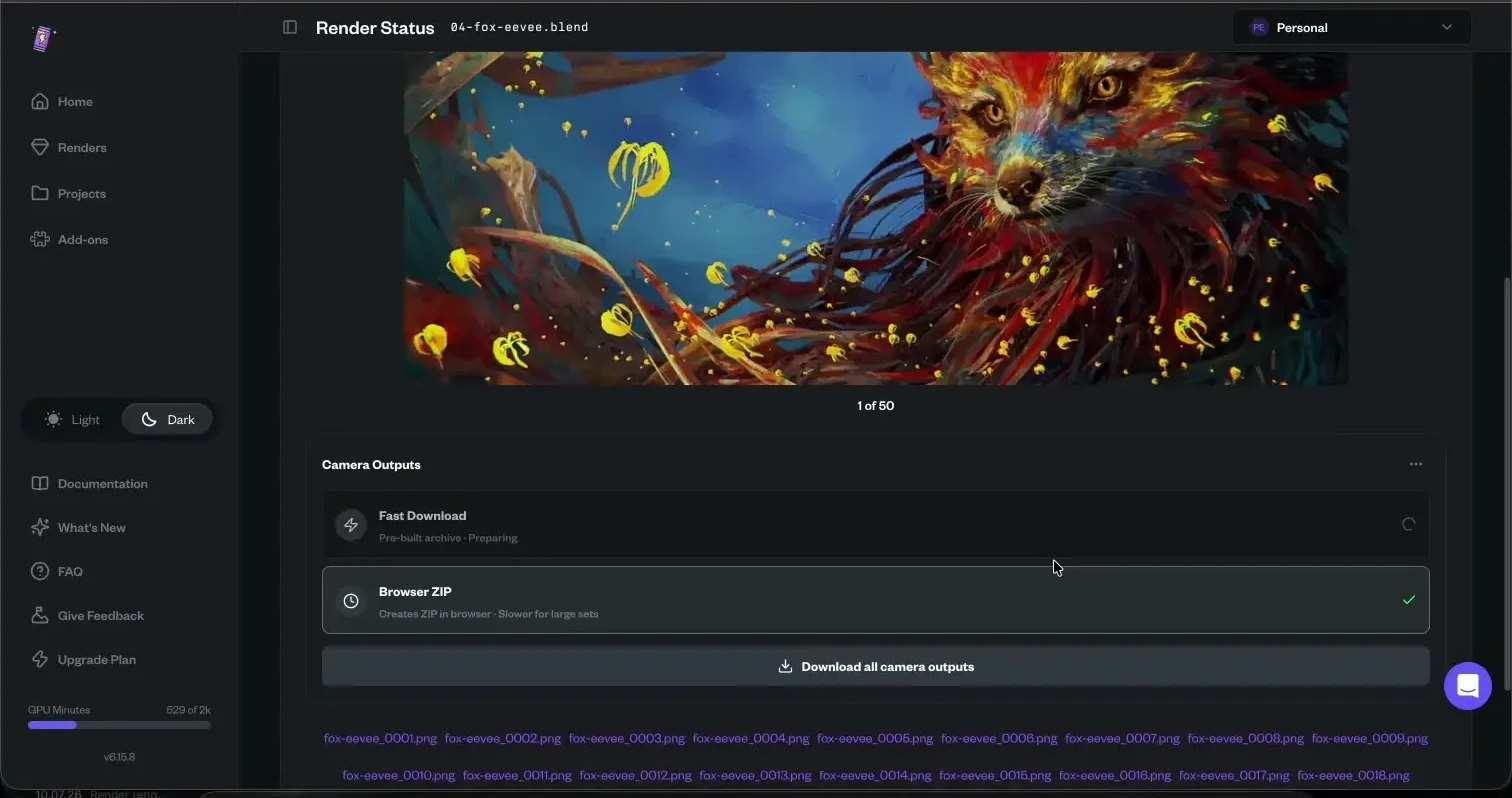
RenderJuice required a packer and the browser:
- Pack the project with the desktop app.
- Upload the package in the browser and wait for validation.
- Confirm the frame range, engine, render settings, and priority.
- Select Start Render.
Overview showed progress and GPU minutes. Monitor exposed job output, warnings, and errors. Review opened a contact sheet and frame gallery after completion.
No inspected tab showed a per-frame timing graph. The RenderJuice comparison explains the subscription cost.
RenderStreet
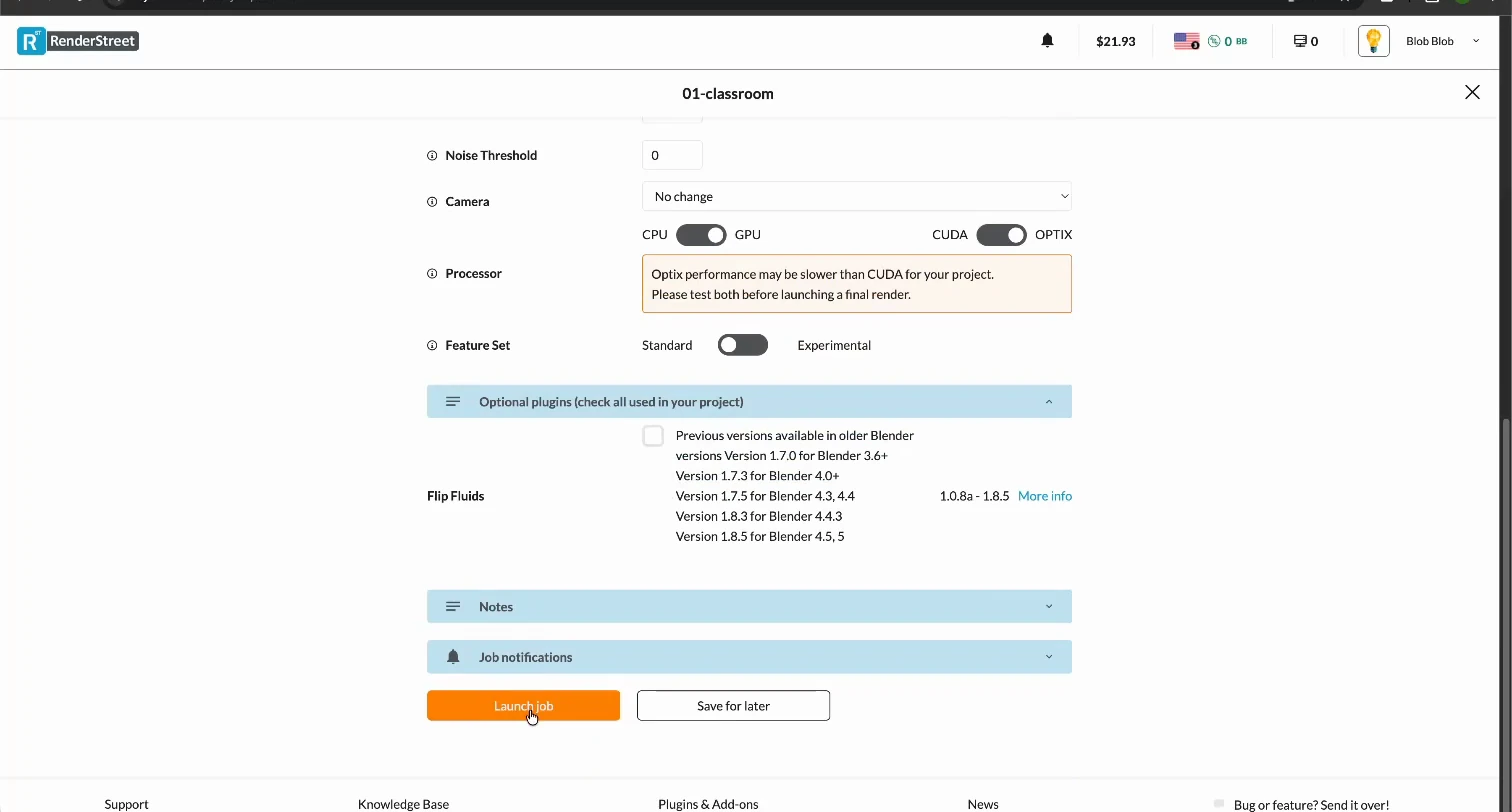
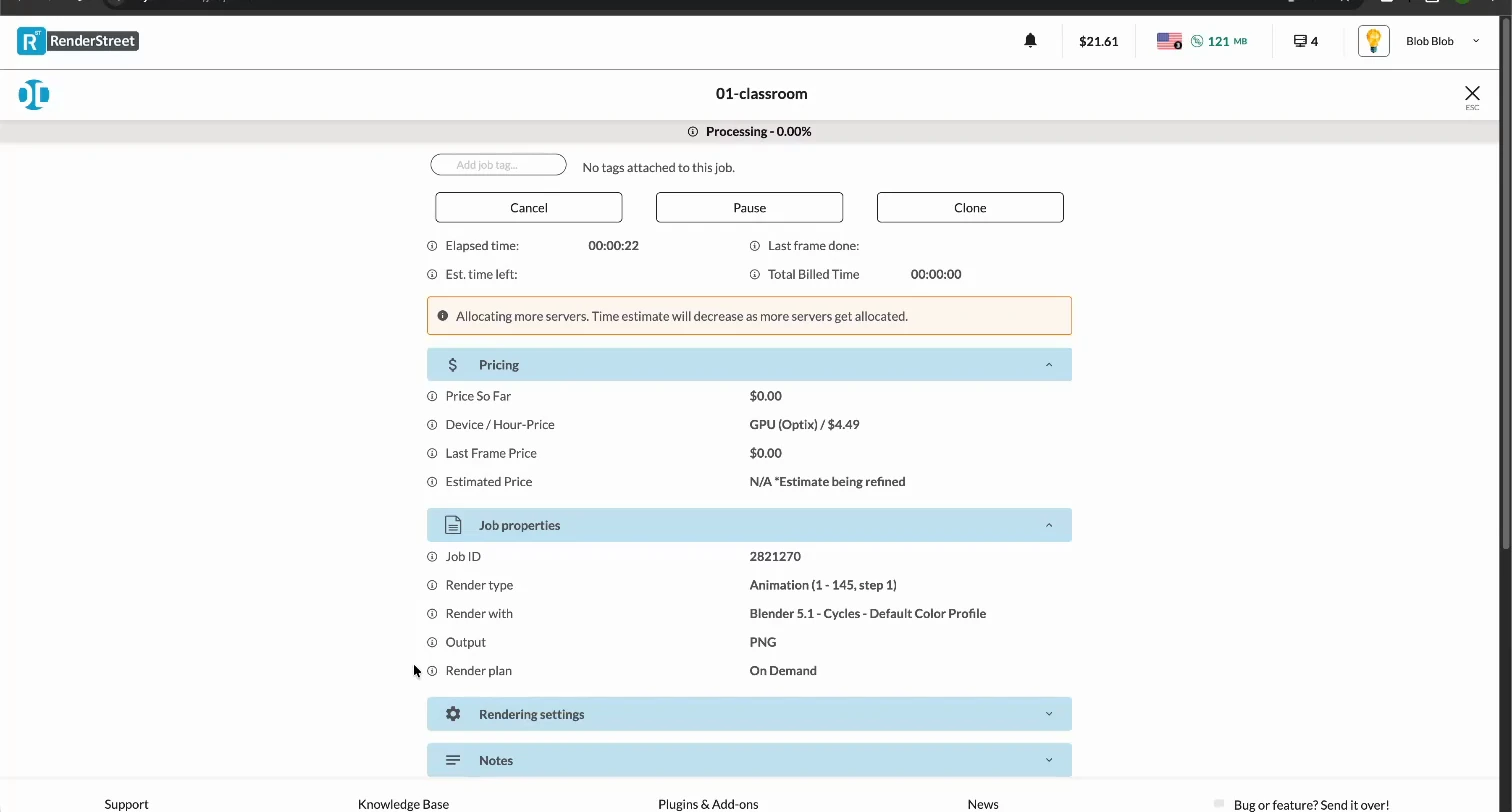
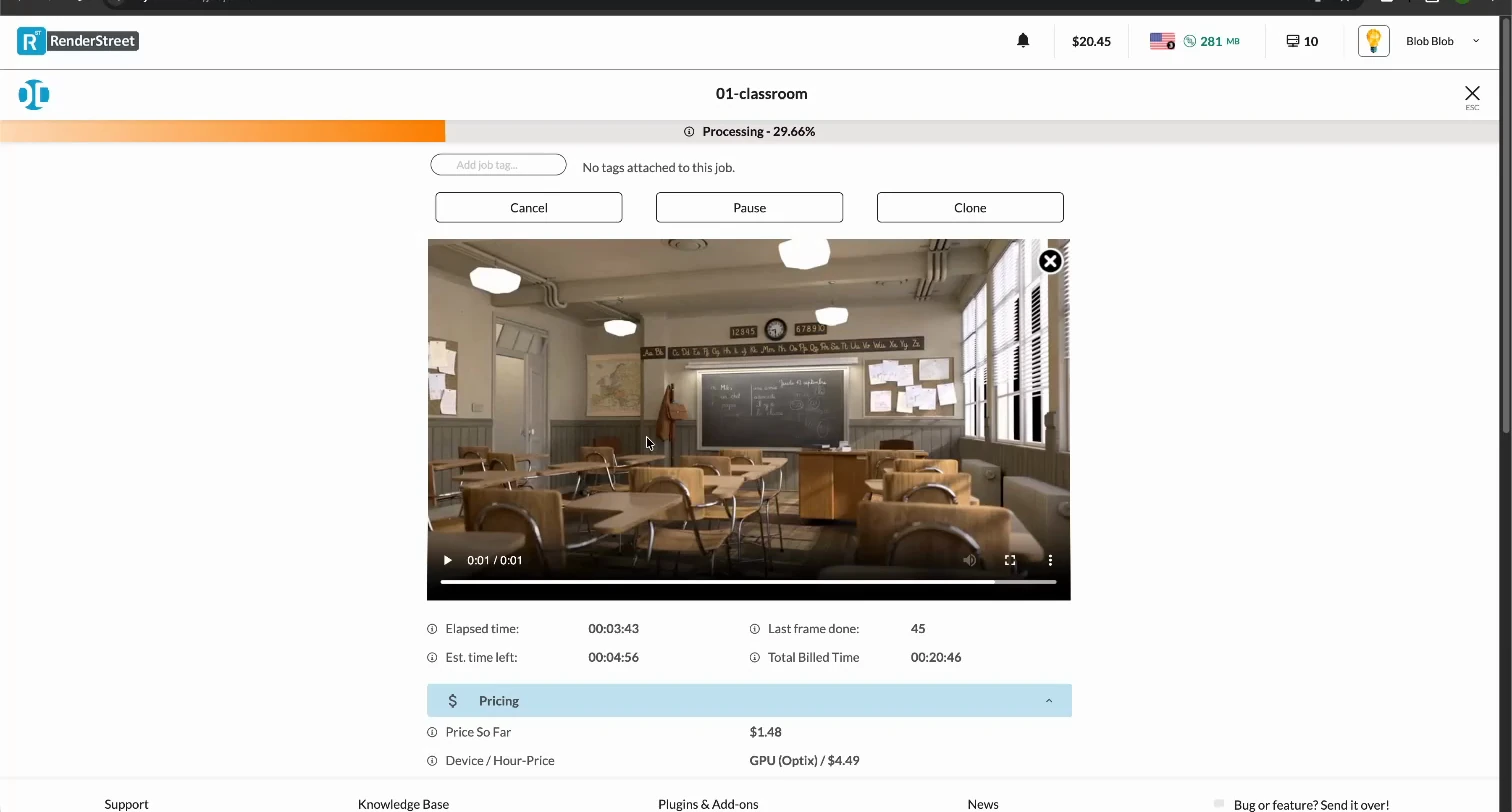
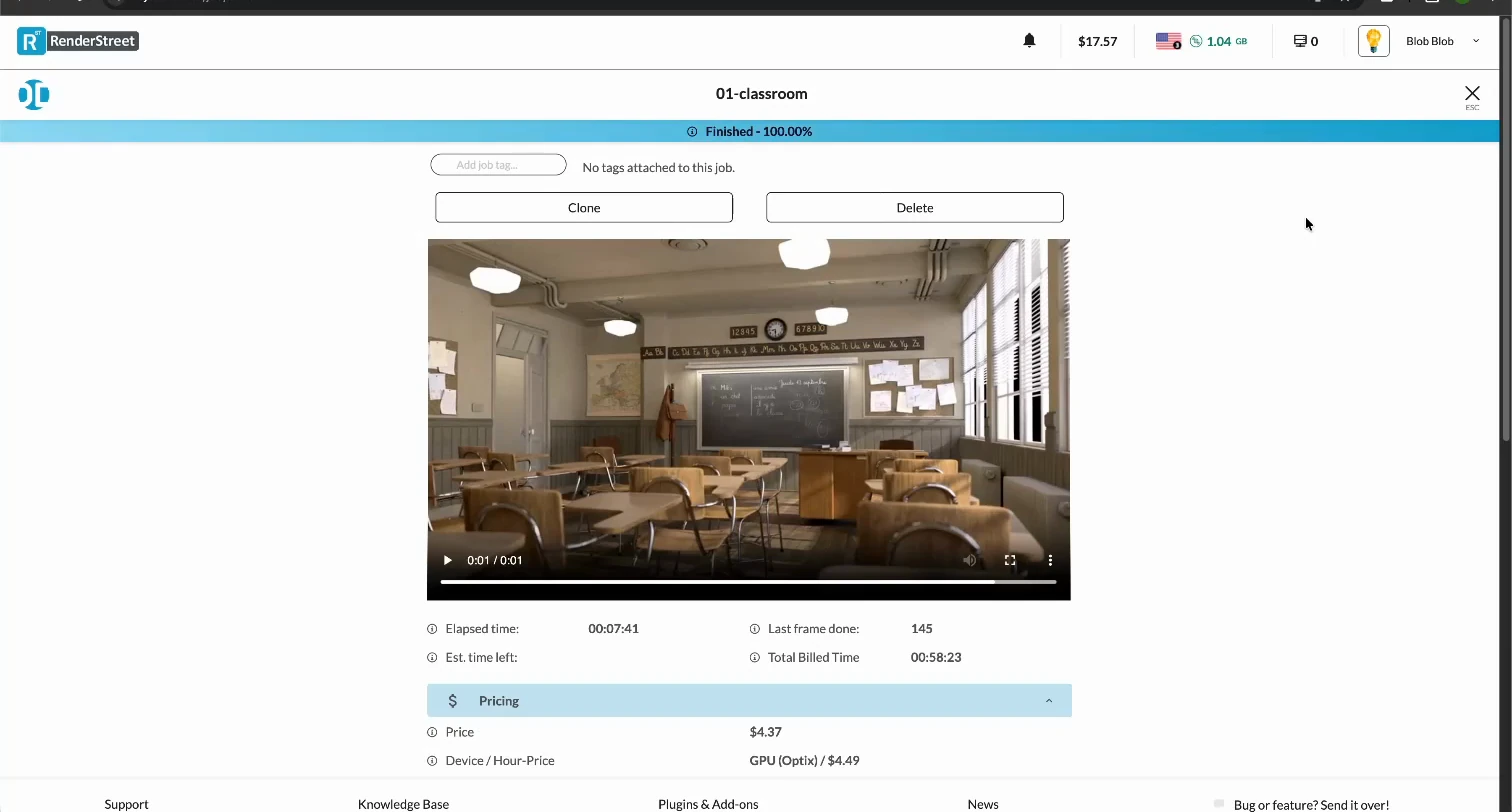
RenderStreet kept submission and monitoring in the browser:
- Upload the
.blendfile and wait for scene analysis. - Check the Blender version, frame range, output format, and render device.
- Choose the On Demand plan and select Launch job.
- Watch the job state, active-machine count, sequence preview, price, and billed device time.
The live Classroom job created a playable sequence preview before the render finished. The completed job exposed each frame's duration, size, and individual download.
The persistent header showed live machine counts: peaks of 16 on Classroom, 22 on Junk Shop, 9 on Monster, 2 on Fox (EEVEE).
The RenderStreet comparison has the scene results and both plans. The comparison clock runs from Launch job to the first appearance of Finished with download controls. Upload, form handling, and retrieval remain separate measurements.
The supplemental One recording used the same form with RenderStreet One and CPU selected. The job page did not expose the assigned CPU or server count. It showed 3:19:46 elapsed and 9:29:13 total rendered time at completion.
Render Network
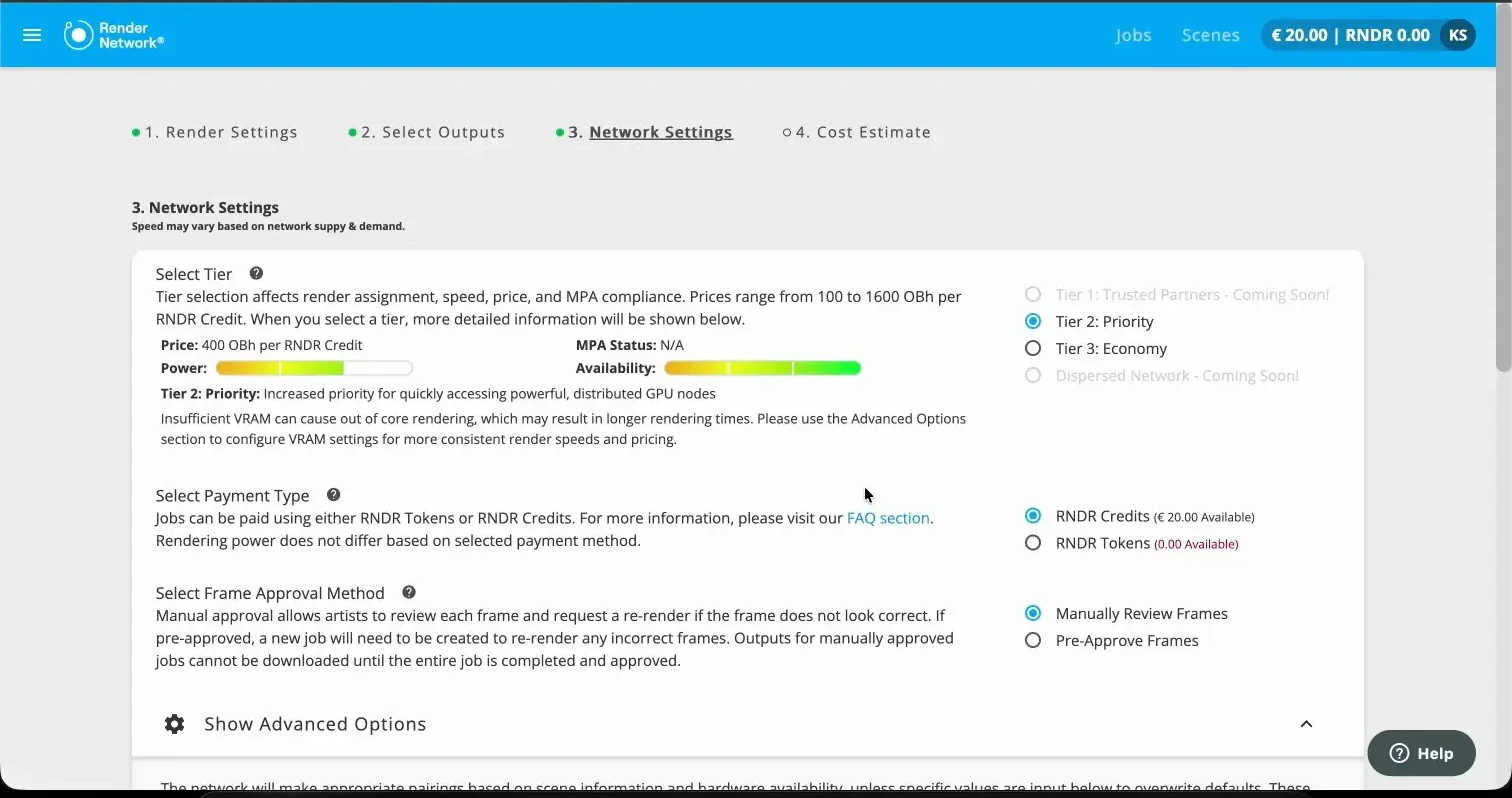
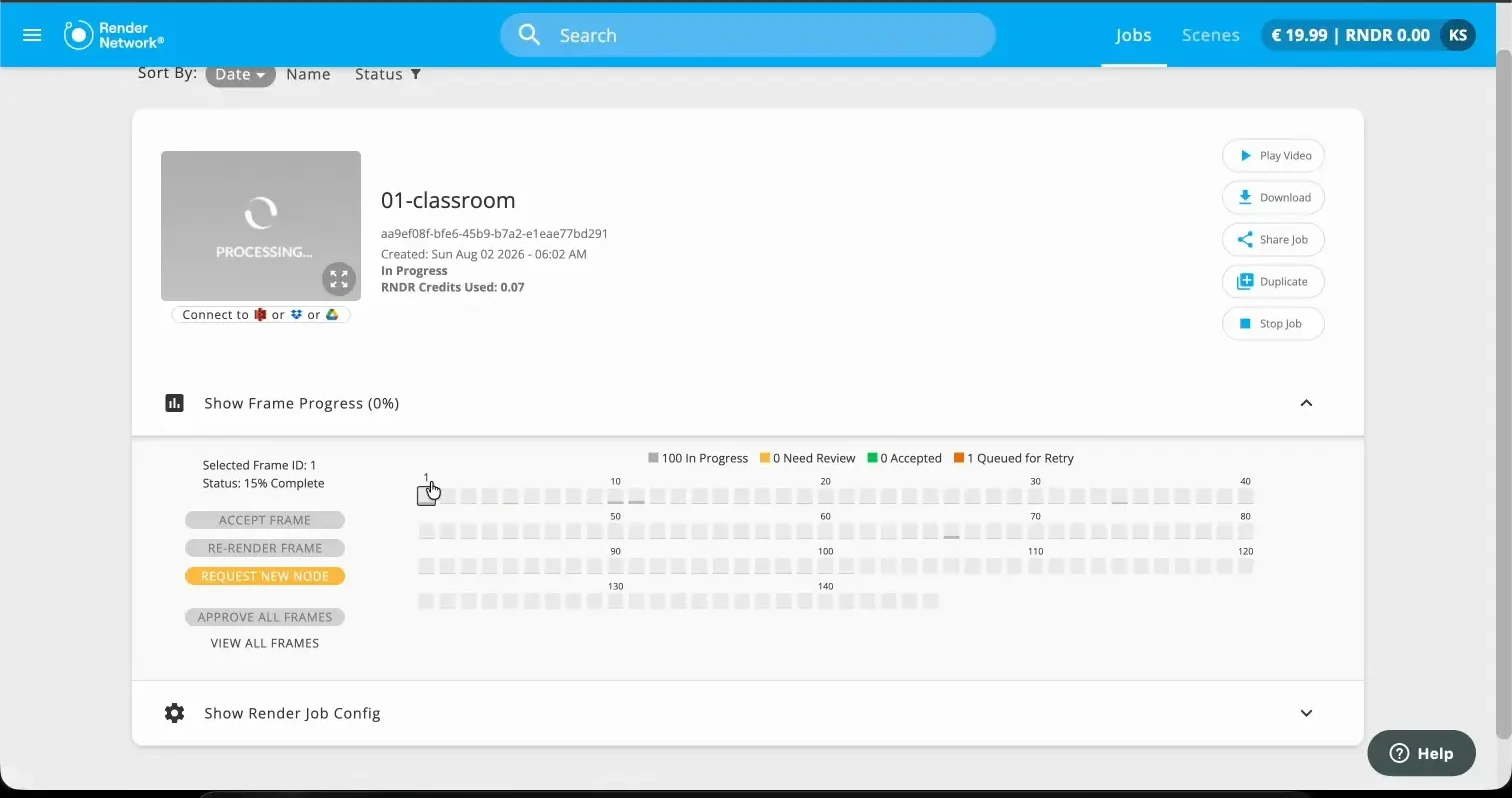
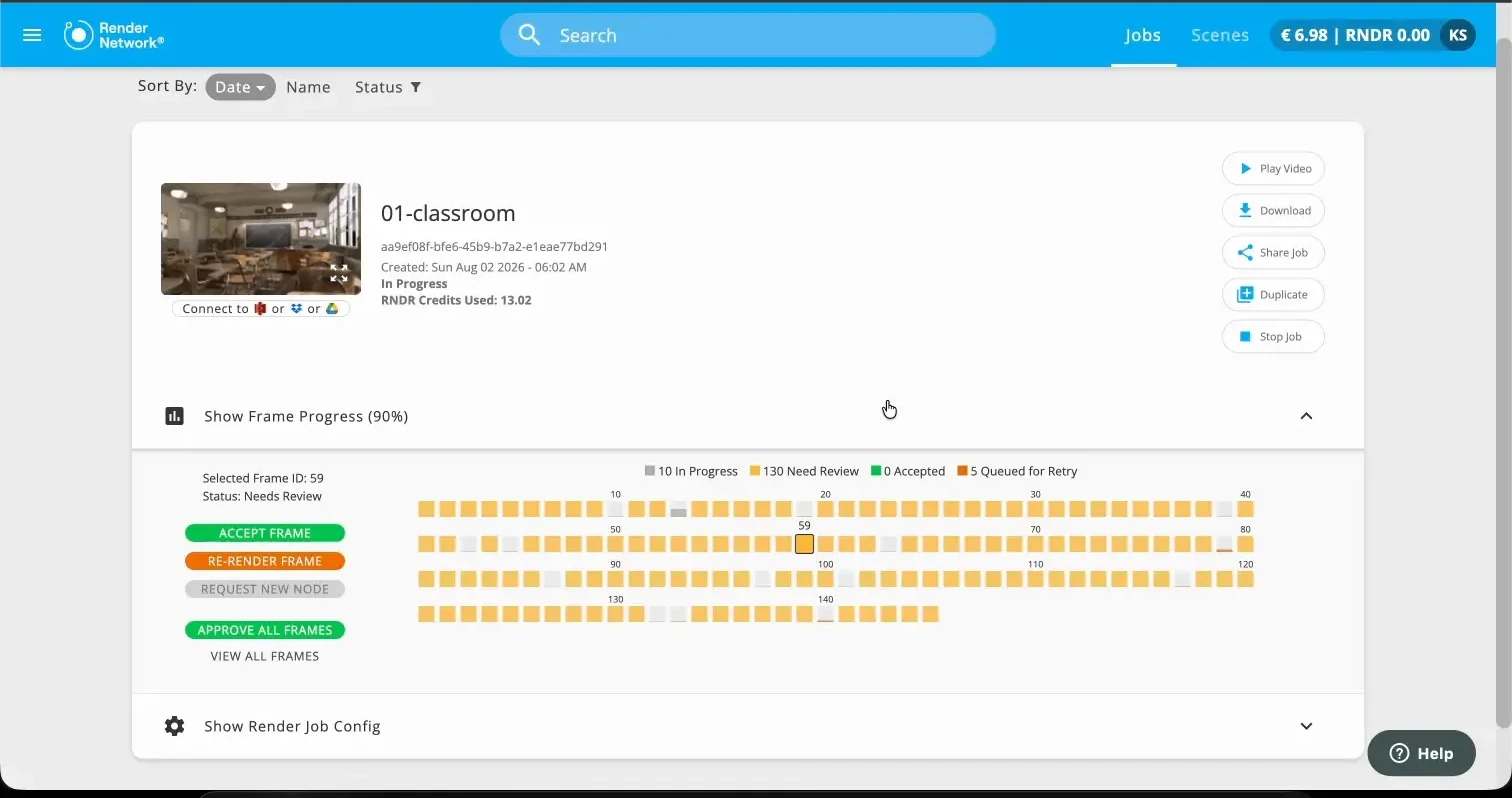
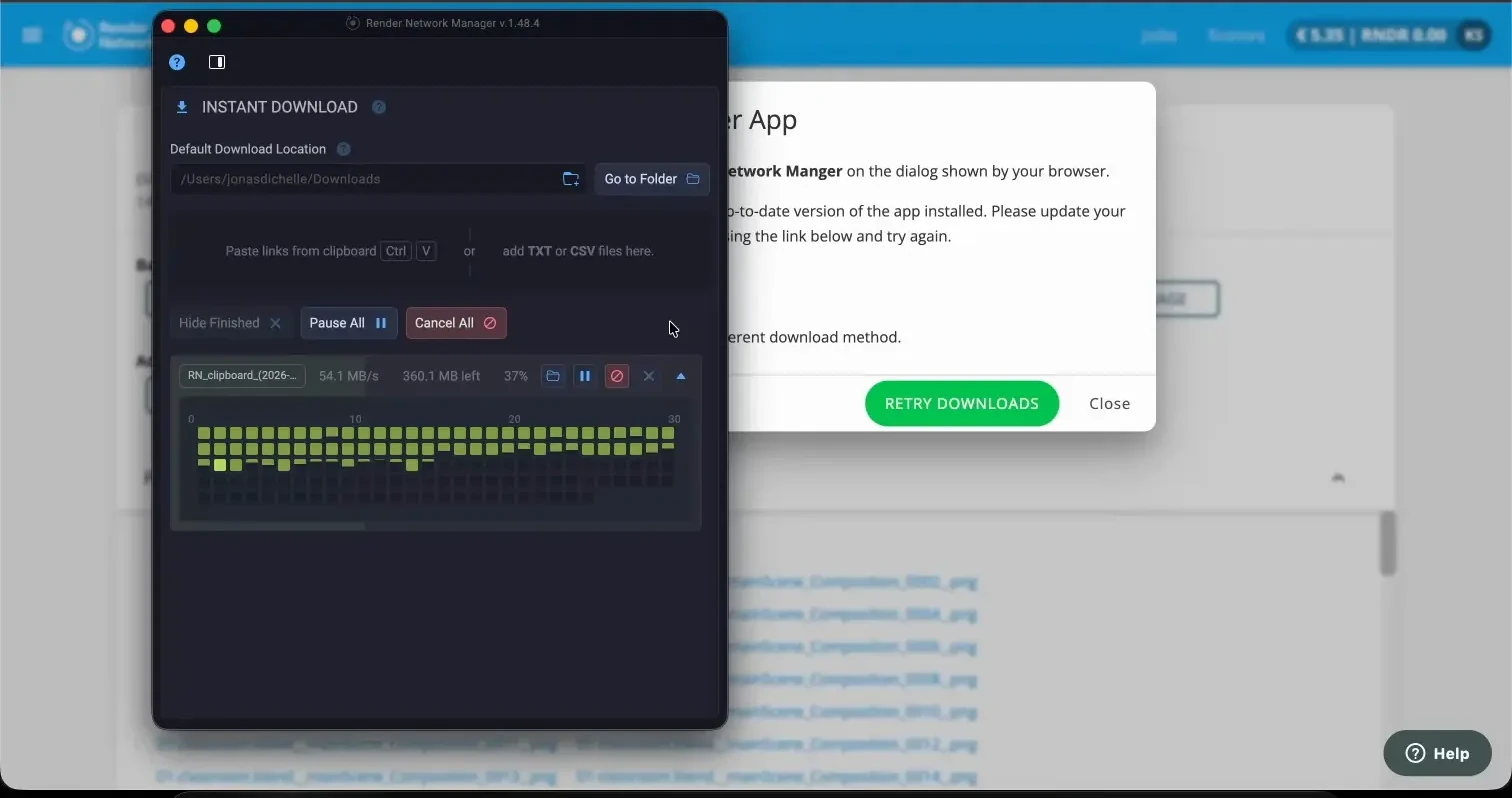
The recorded job began with a package prepared outside the service:
- Prepare the Blender package.
- Upload it in the browser.
- Choose Tier 2 Priority, RNDR Credits, and manual frame review.
- Create the job.
The job view showed a frame grid, review controls, overall progress, and up to 100 frames in progress. The completed Classroom job opened individual previews and a sequence player.
The settings listed requested VRAM and render passes, not assigned hardware. The browser opened one download prompt per file, so we switched to Downloader Manager. The Render Network comparison covers the two Junk Shop attempts that returned no output.
iRender
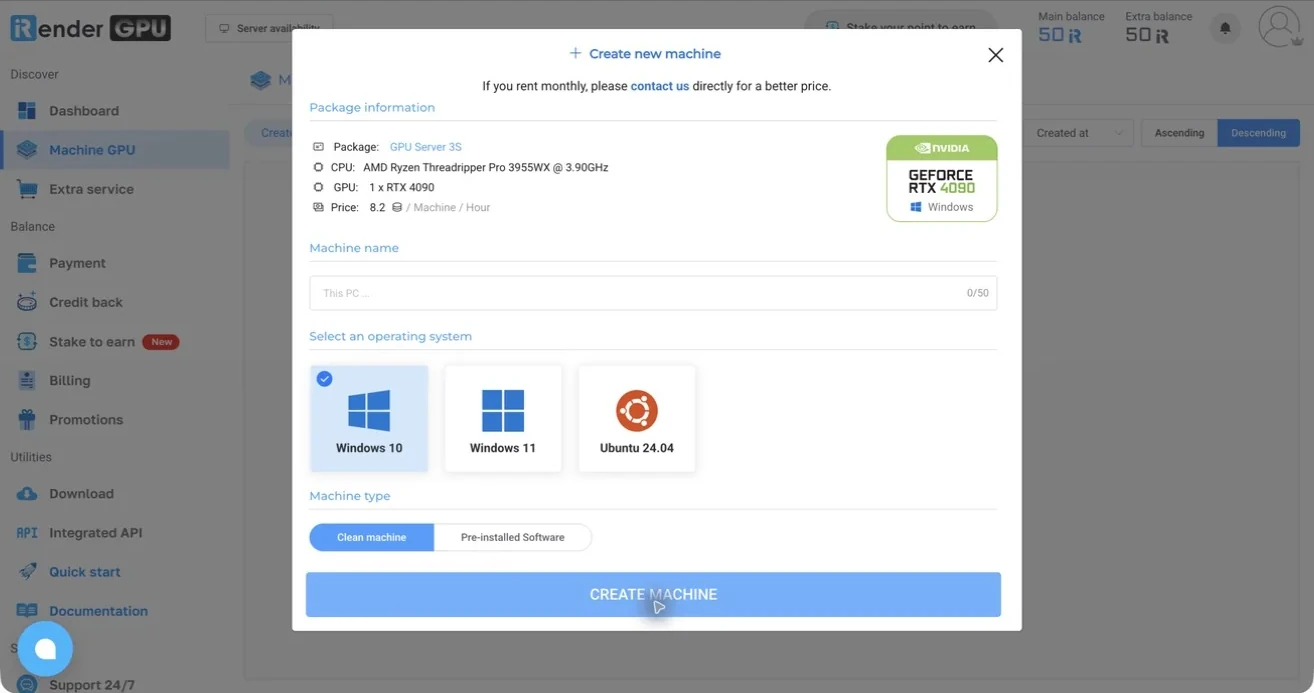
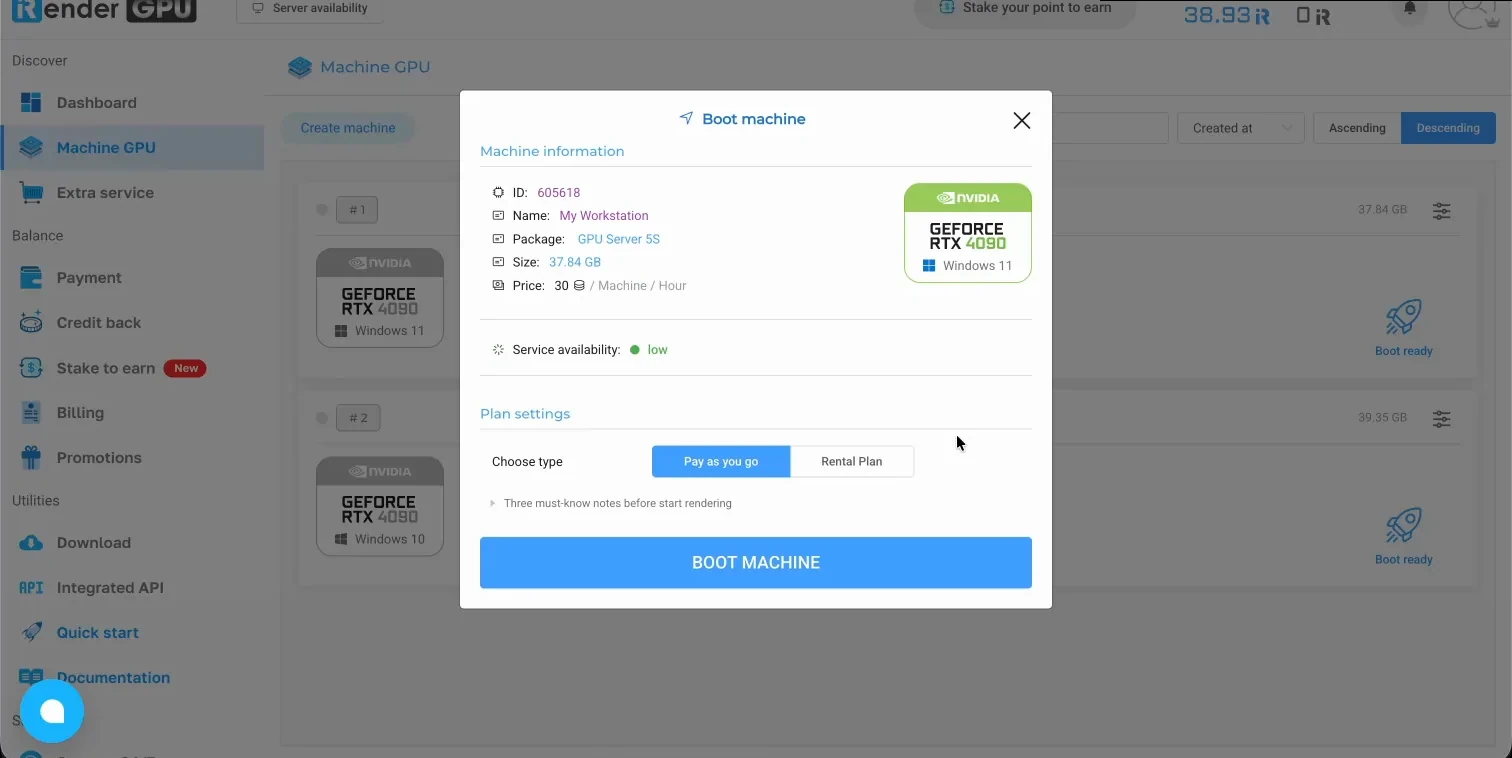
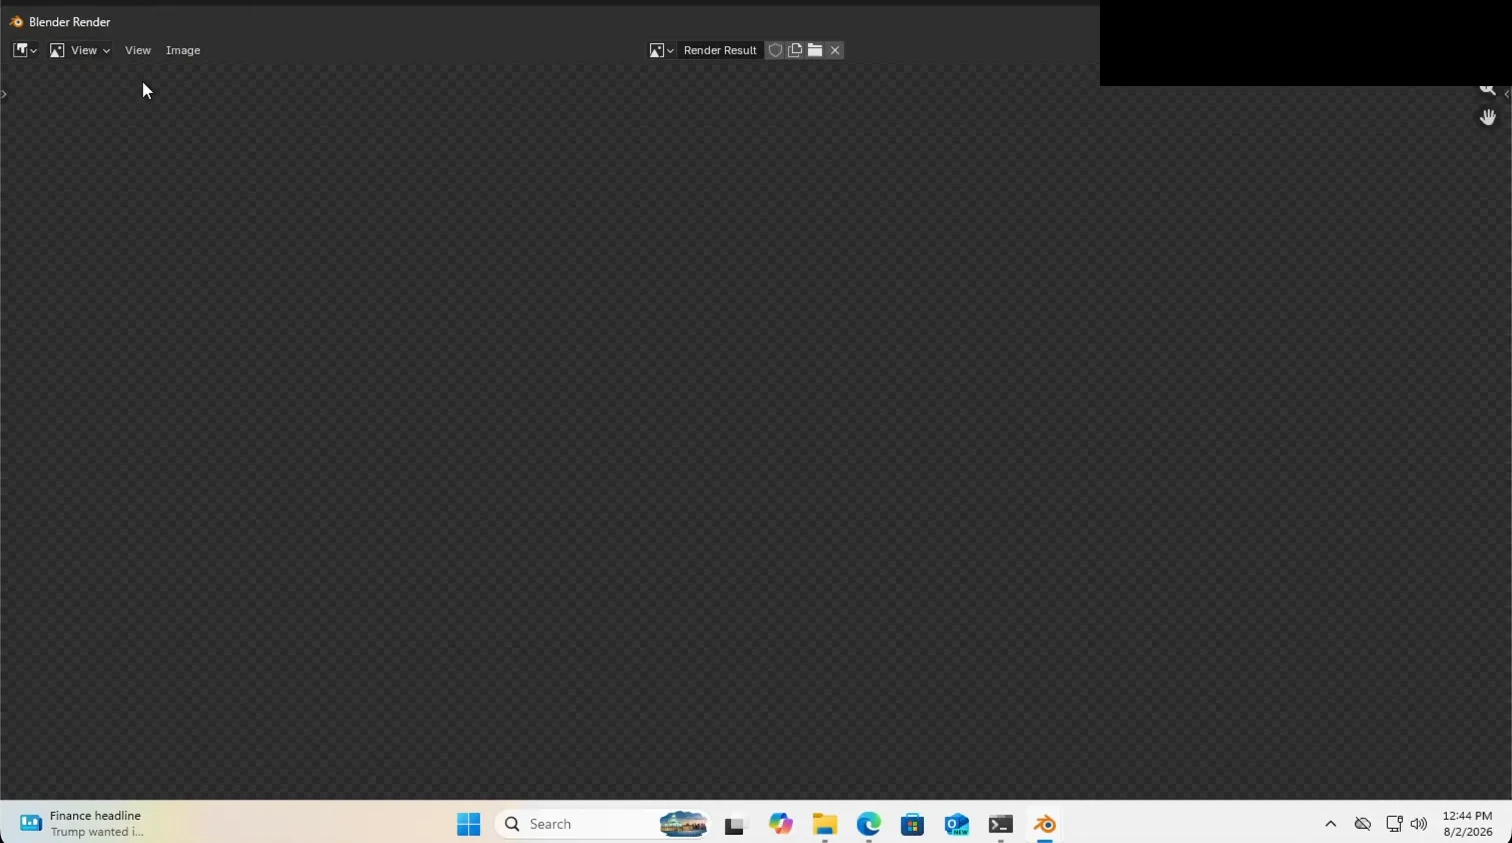
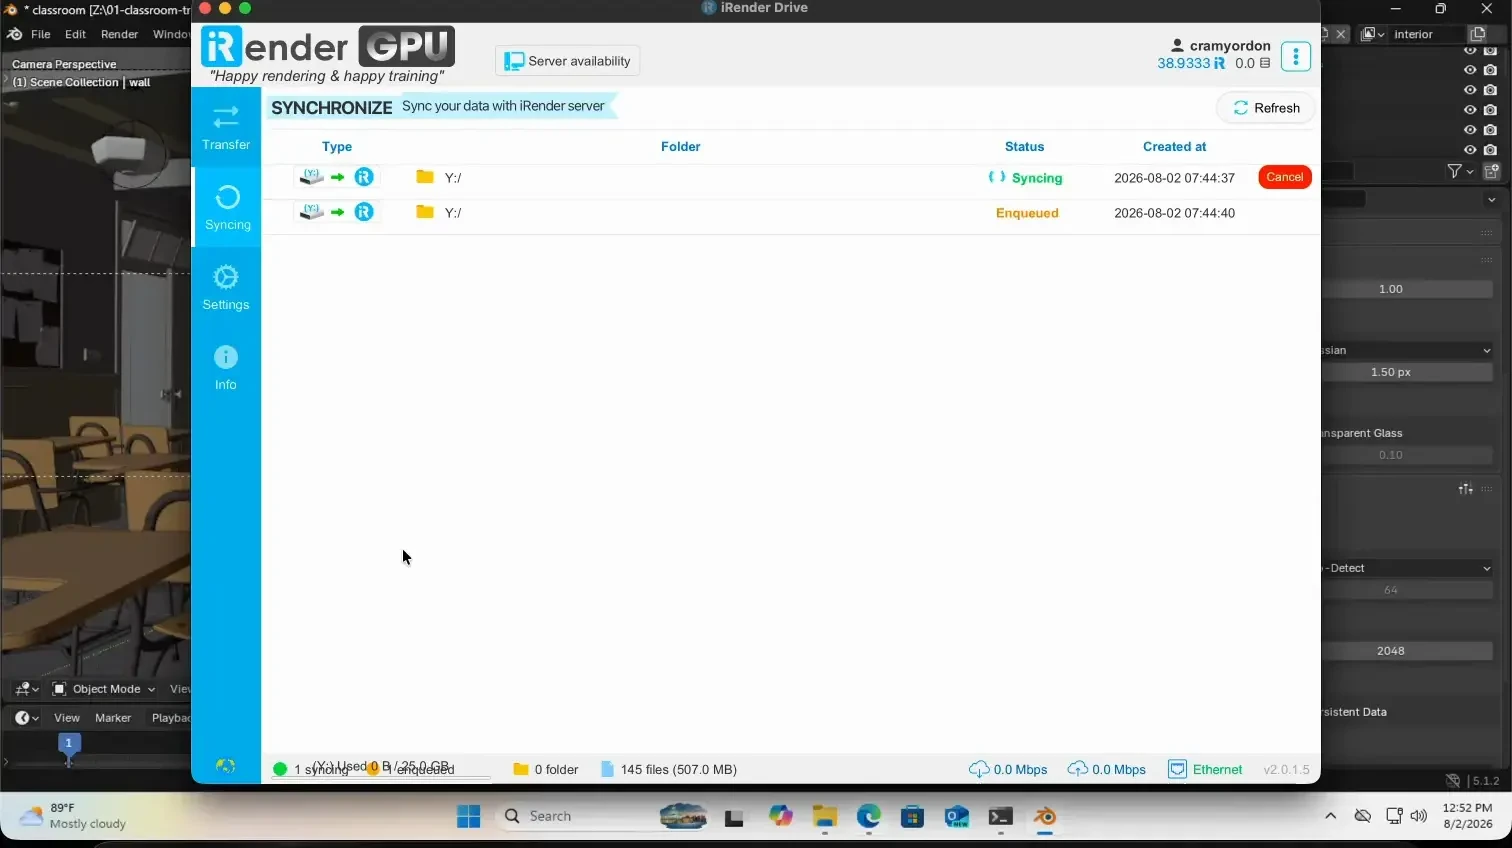
iRender rented a remote Windows workstation instead of running a managed farm job:
- Choose GPU Server 5S with four RTX 4090 GPUs and start the machine.
- Wait for the connection, then open the remote desktop.
- Move the project to the workstation and open it in Blender.
- Start the render in Blender and use iRender Drive to synchronize the output.
For Classroom, the remote desktop became usable 13 minutes 11 seconds after the paid machine started. The dashboard lists each retained machine's package, CPU, GPU count, Blender version, and hourly price.
You manage Blender, storage, rendering, and file transfer yourself. The iRender comparison reports the full paid window.